 You’ll need:
- One men’s sock (the bigger the better!)
- Stuffing
- Ribbon for the collar
- Needle and thread
- Button for the nose (optional)
- Sewing machine (optional)
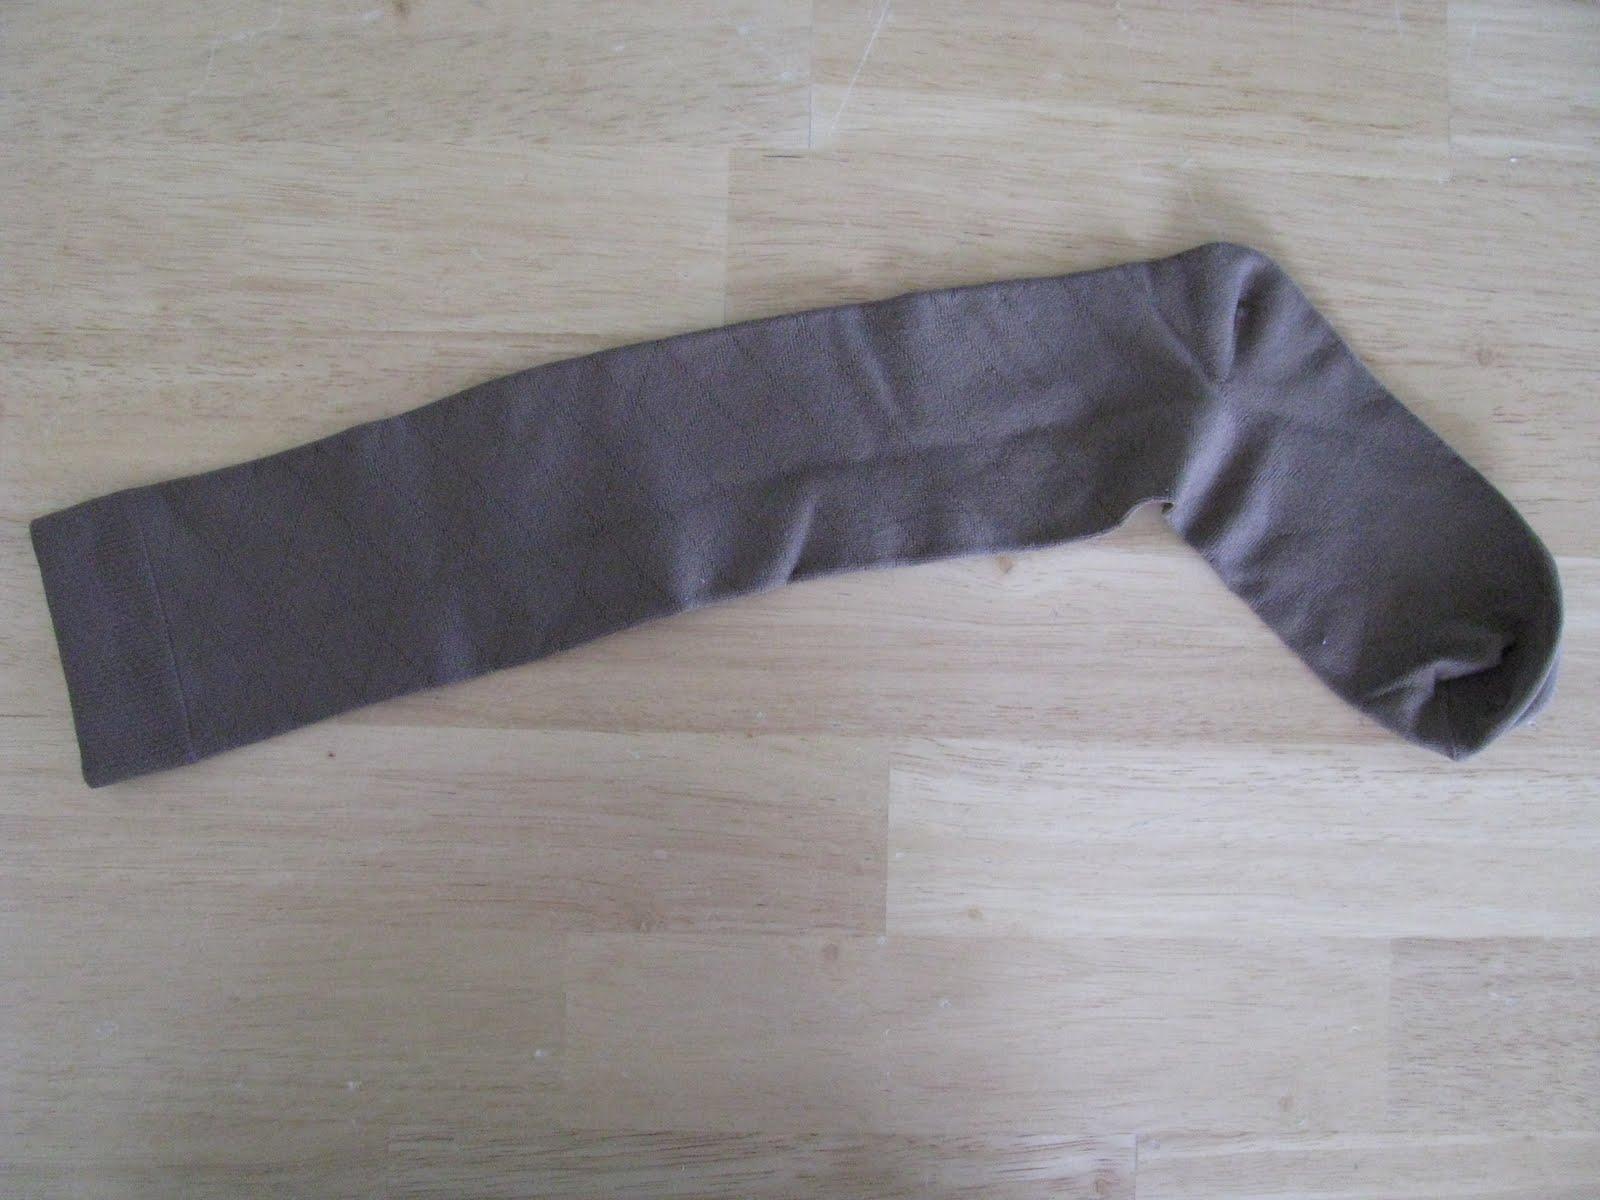
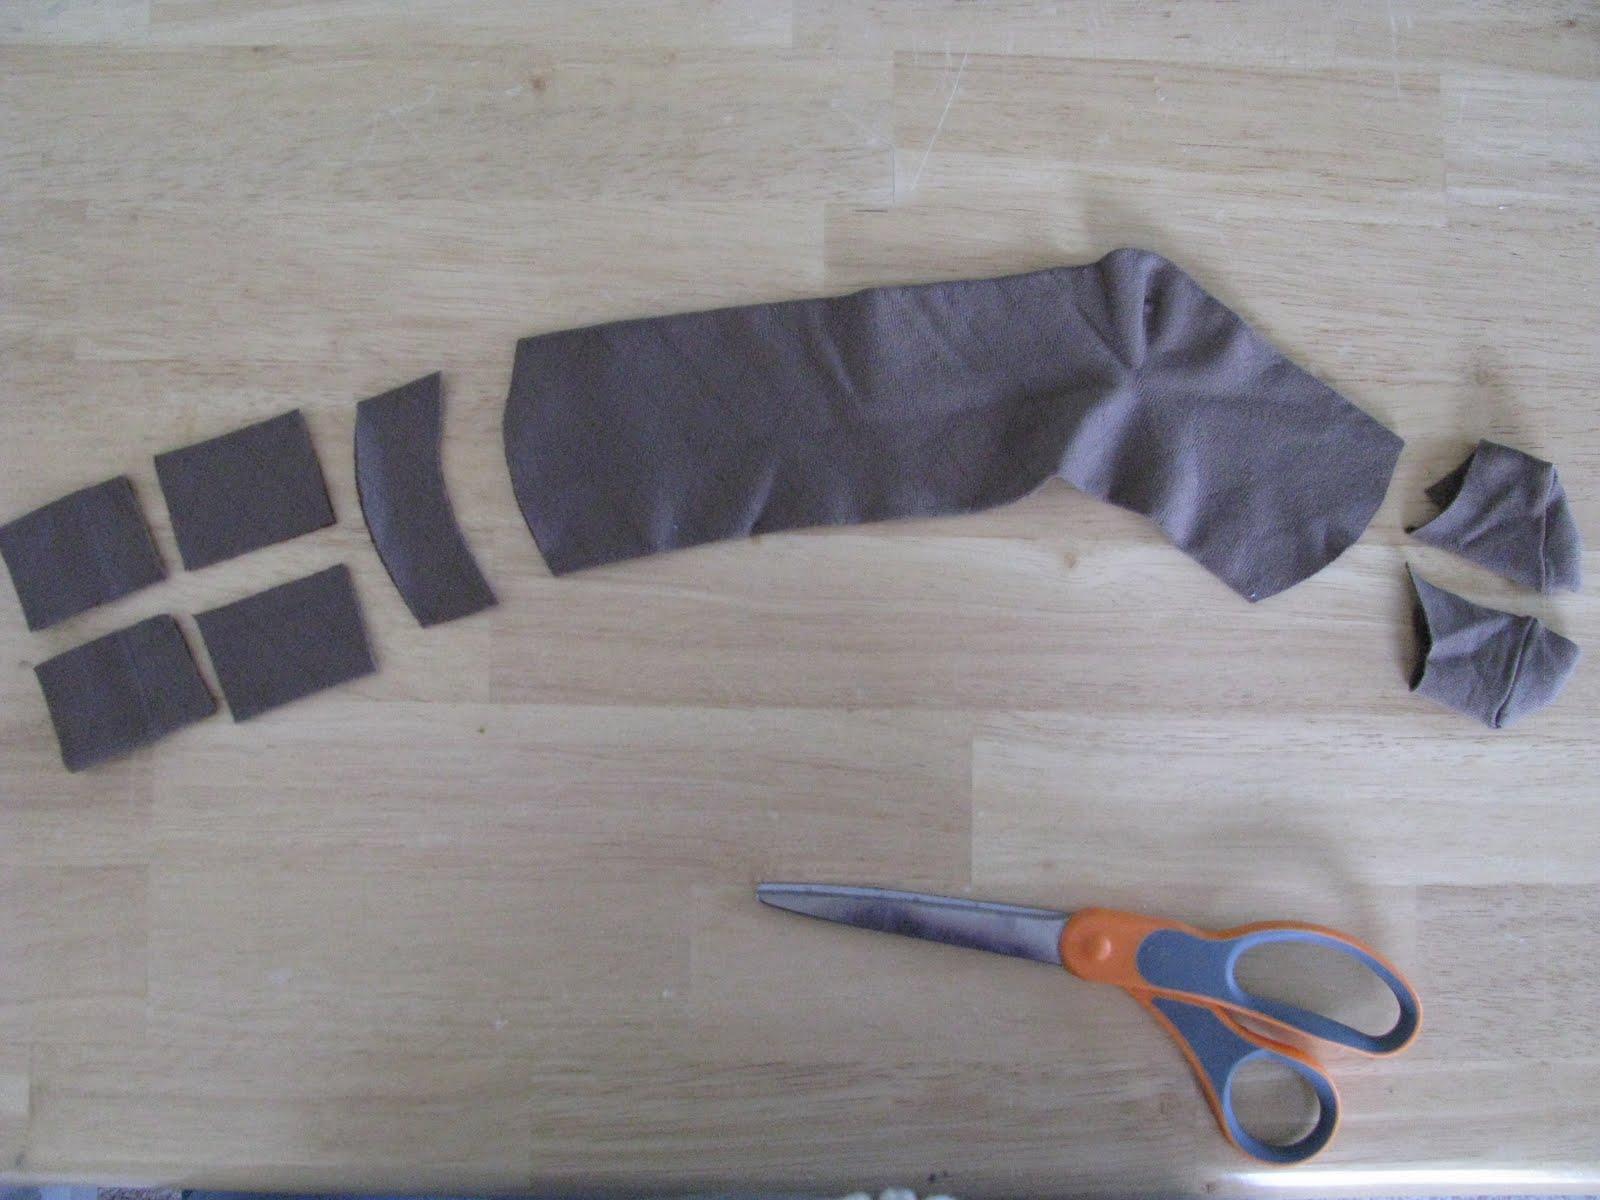
 So, here’s what you’re starting with. The heel of the sock will be the top of Bertie’s head. There are really four parts to this process: ears, body, tail and legs. I’ll organize this tutorial that way so you don’t get too confused.
Ears: Cut the toe of the sock off about 1.5 – 2 inches in a slight arch, the more of the toe you cut off, the floppier her ears will be.
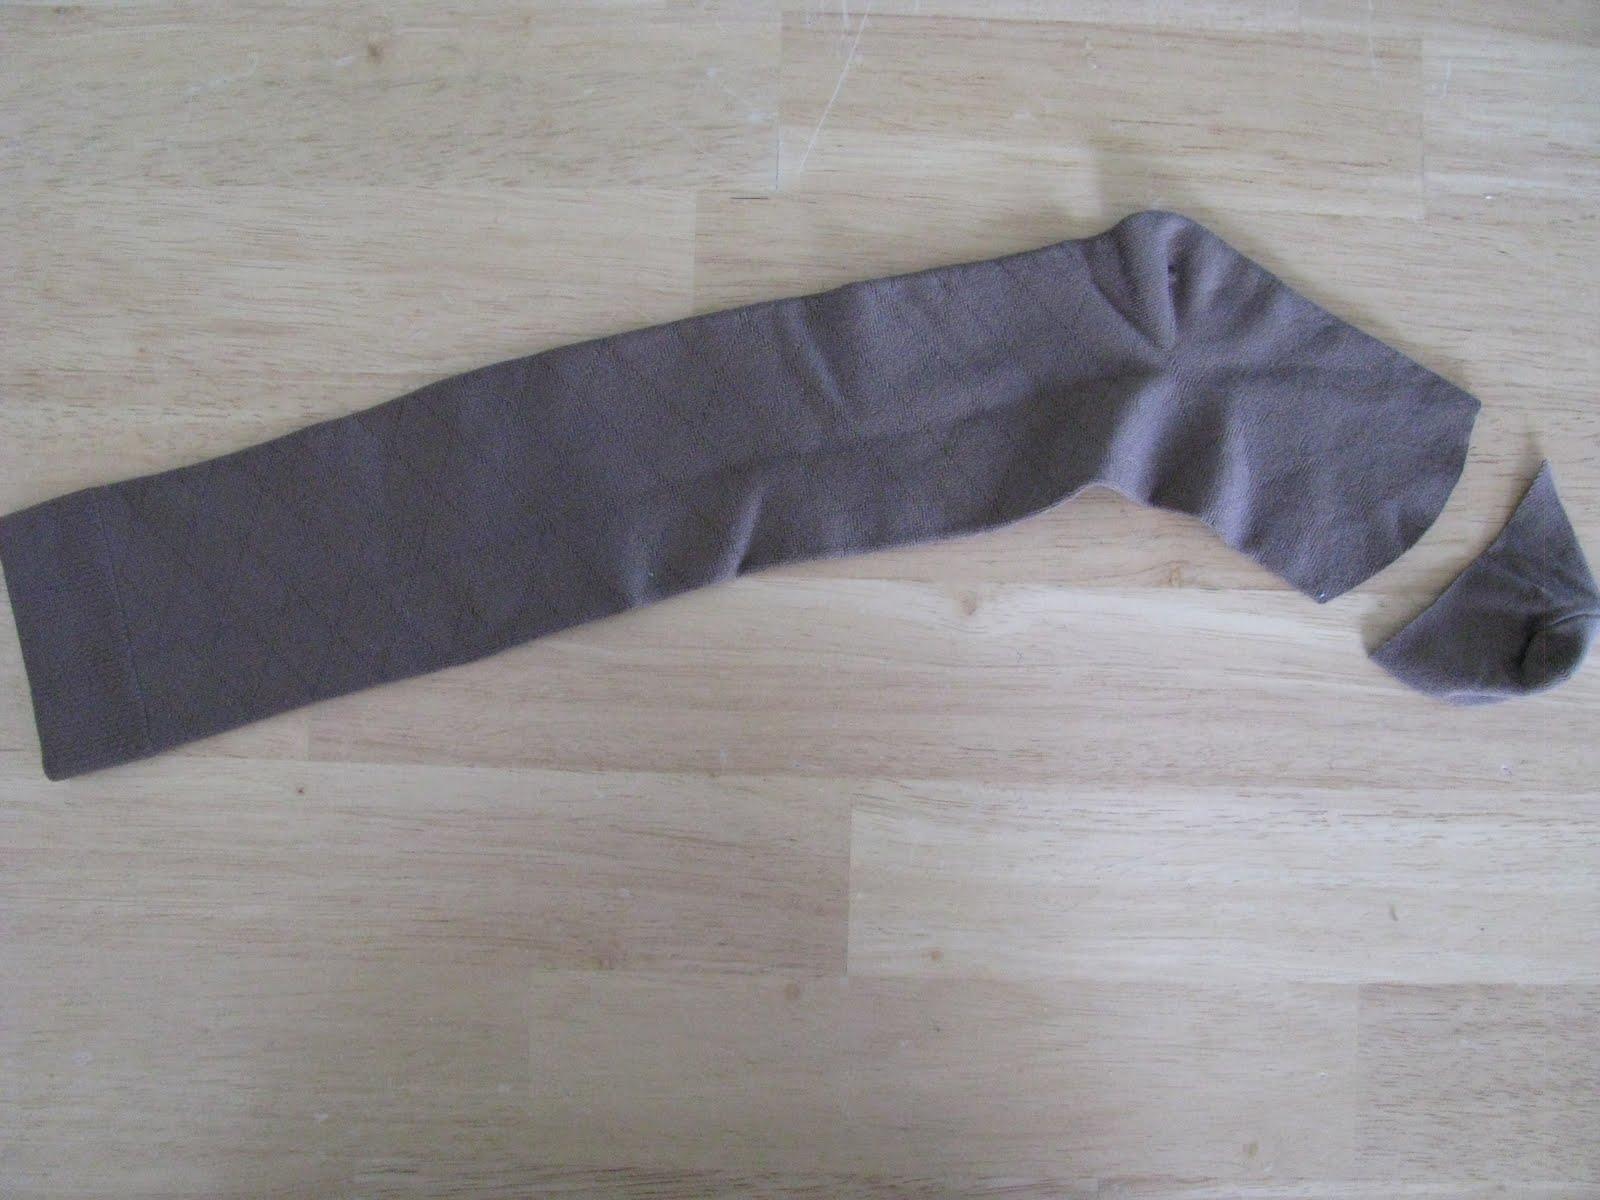
Now comes the tricky part. If the toe of the sock were a bowl, cut down the center of the bowl.
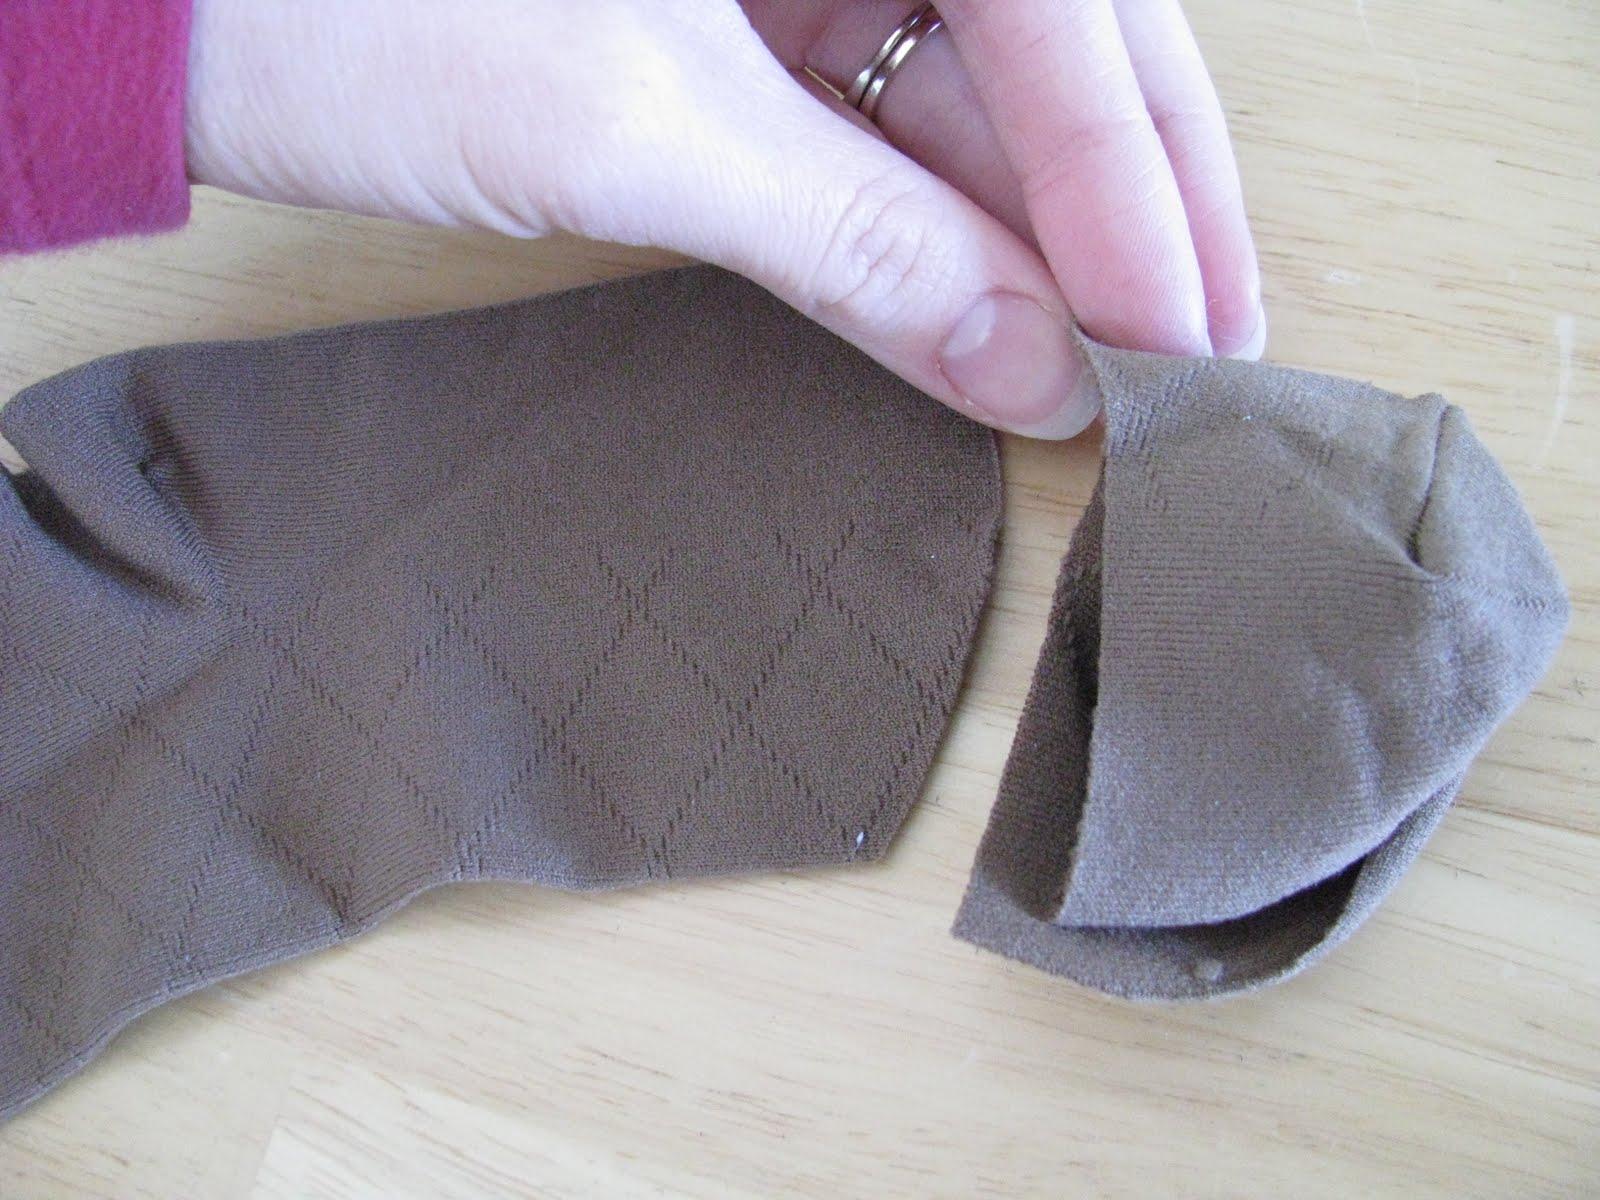
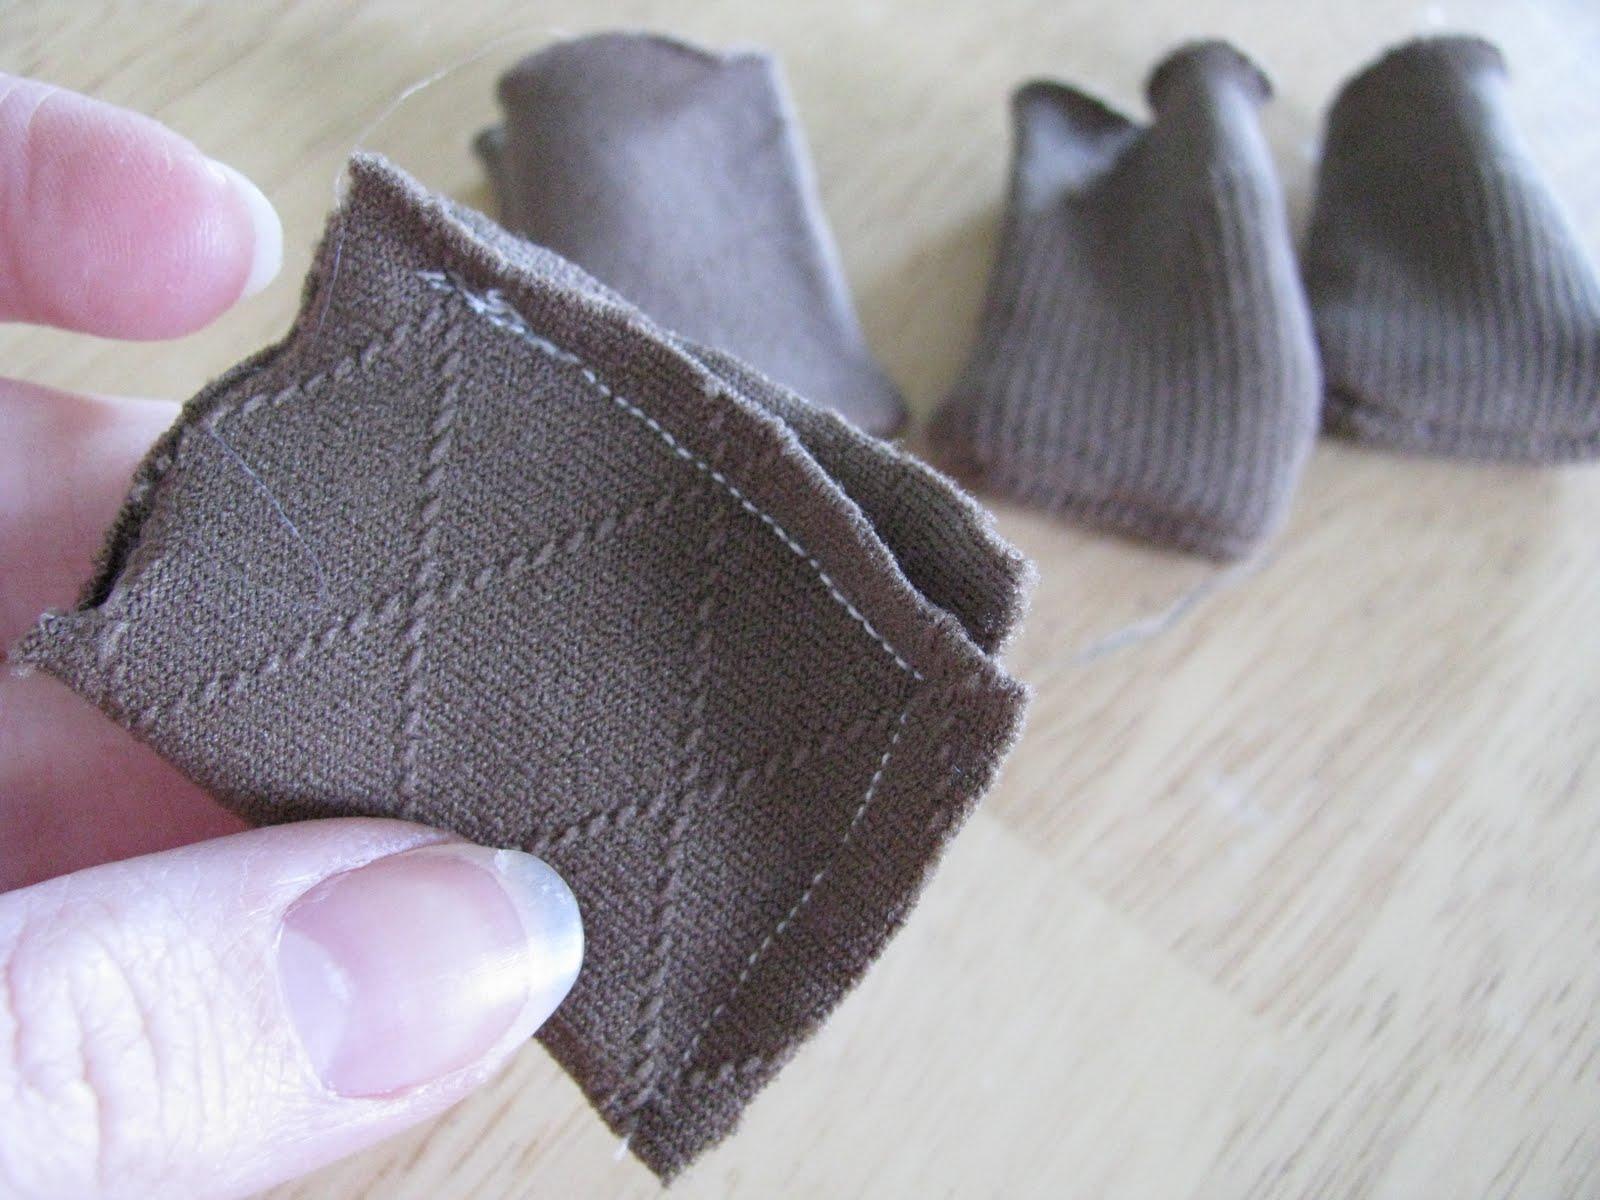
Separate the two halves of the toe of the sock and fold them in half with the right sides of the sock facing each other. I’m pointing to what it looks like before it is folded in half. The one below my hand is what it looks like folded.
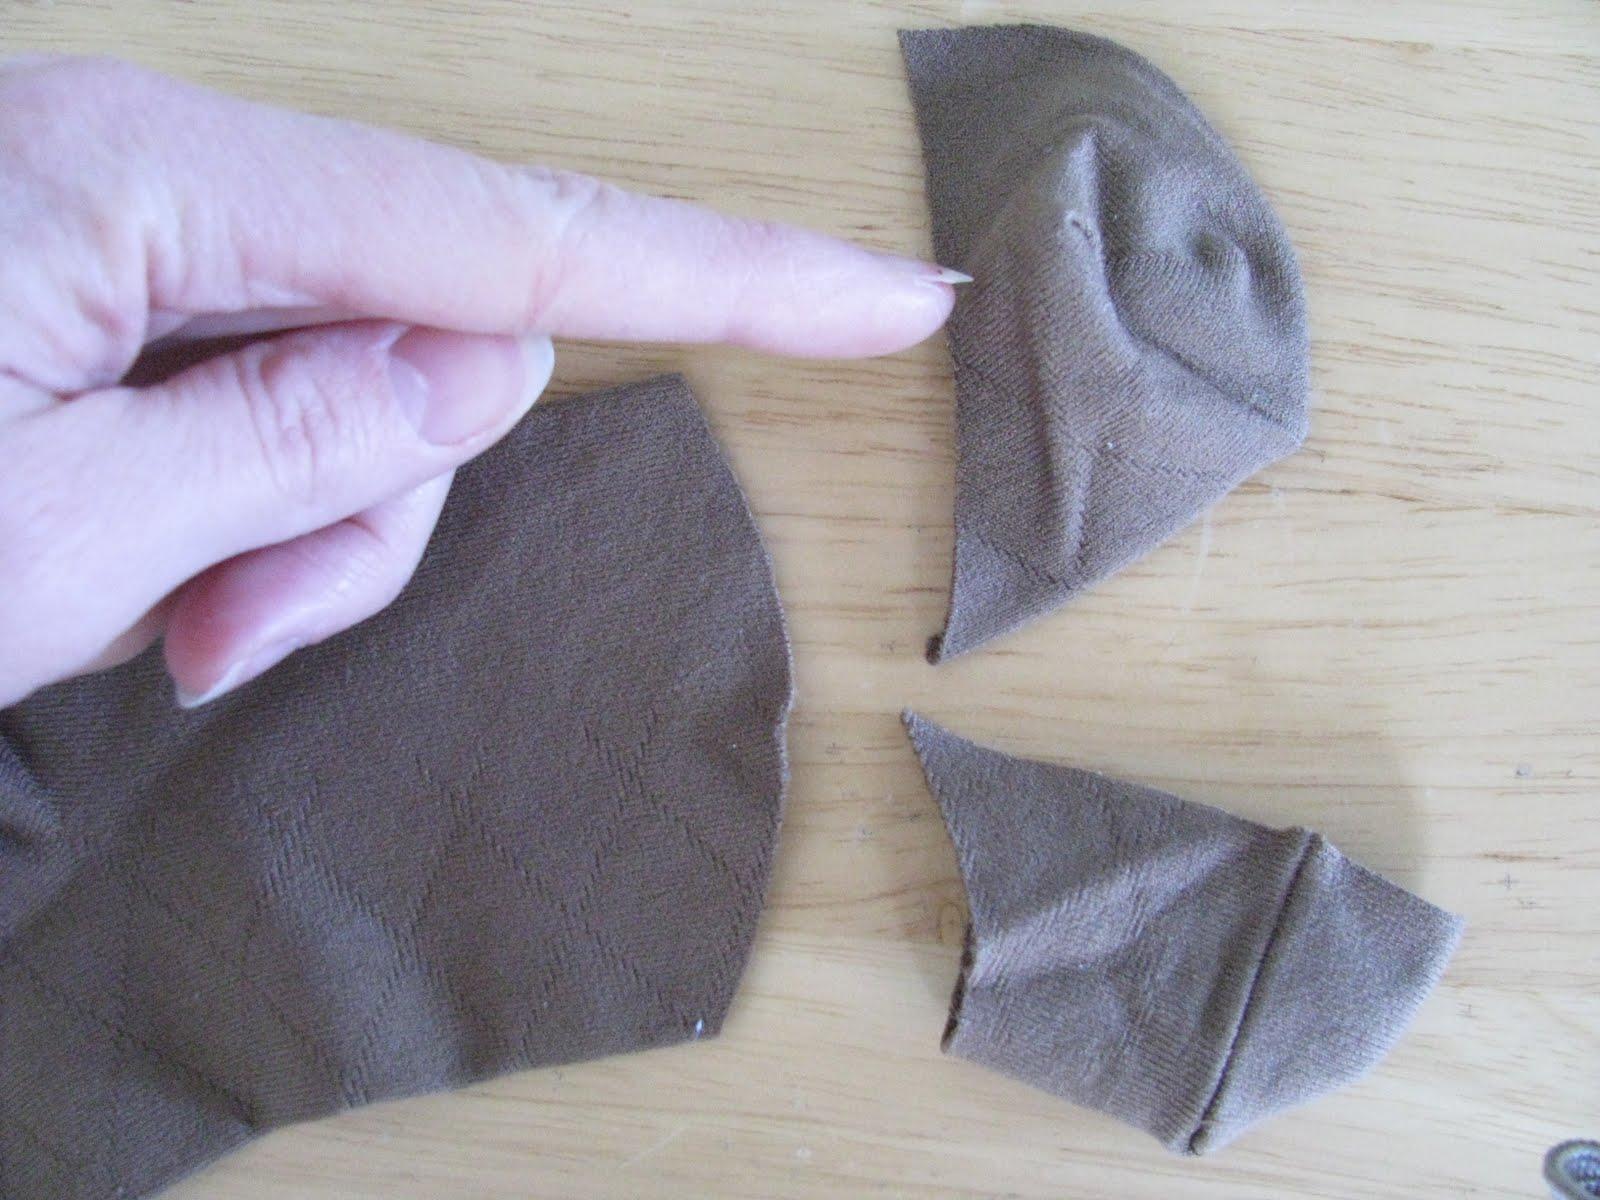
With your sewing machine, sew along the straight edge, leaving as small a seam allowance as possible. You’ll finish by turning these inside out. The ears will not be stuffed, so you can set them aside until the body is done and you can sew them on.
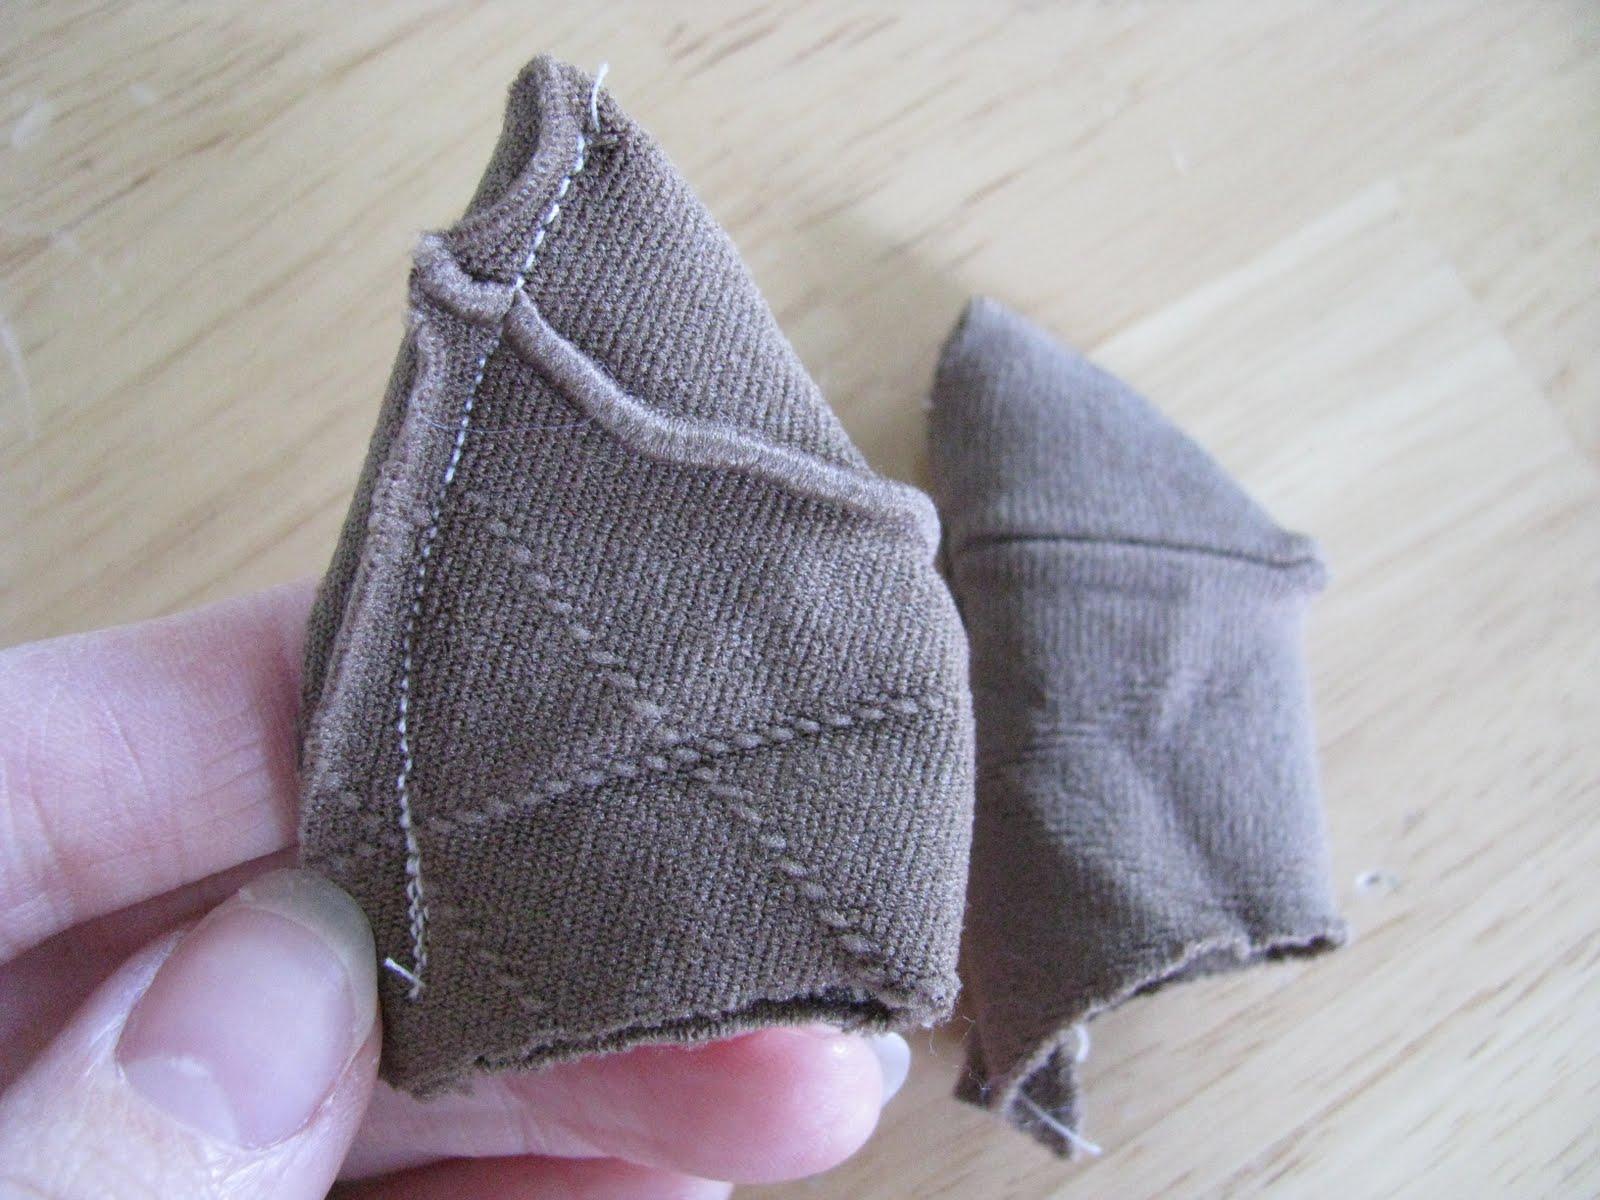
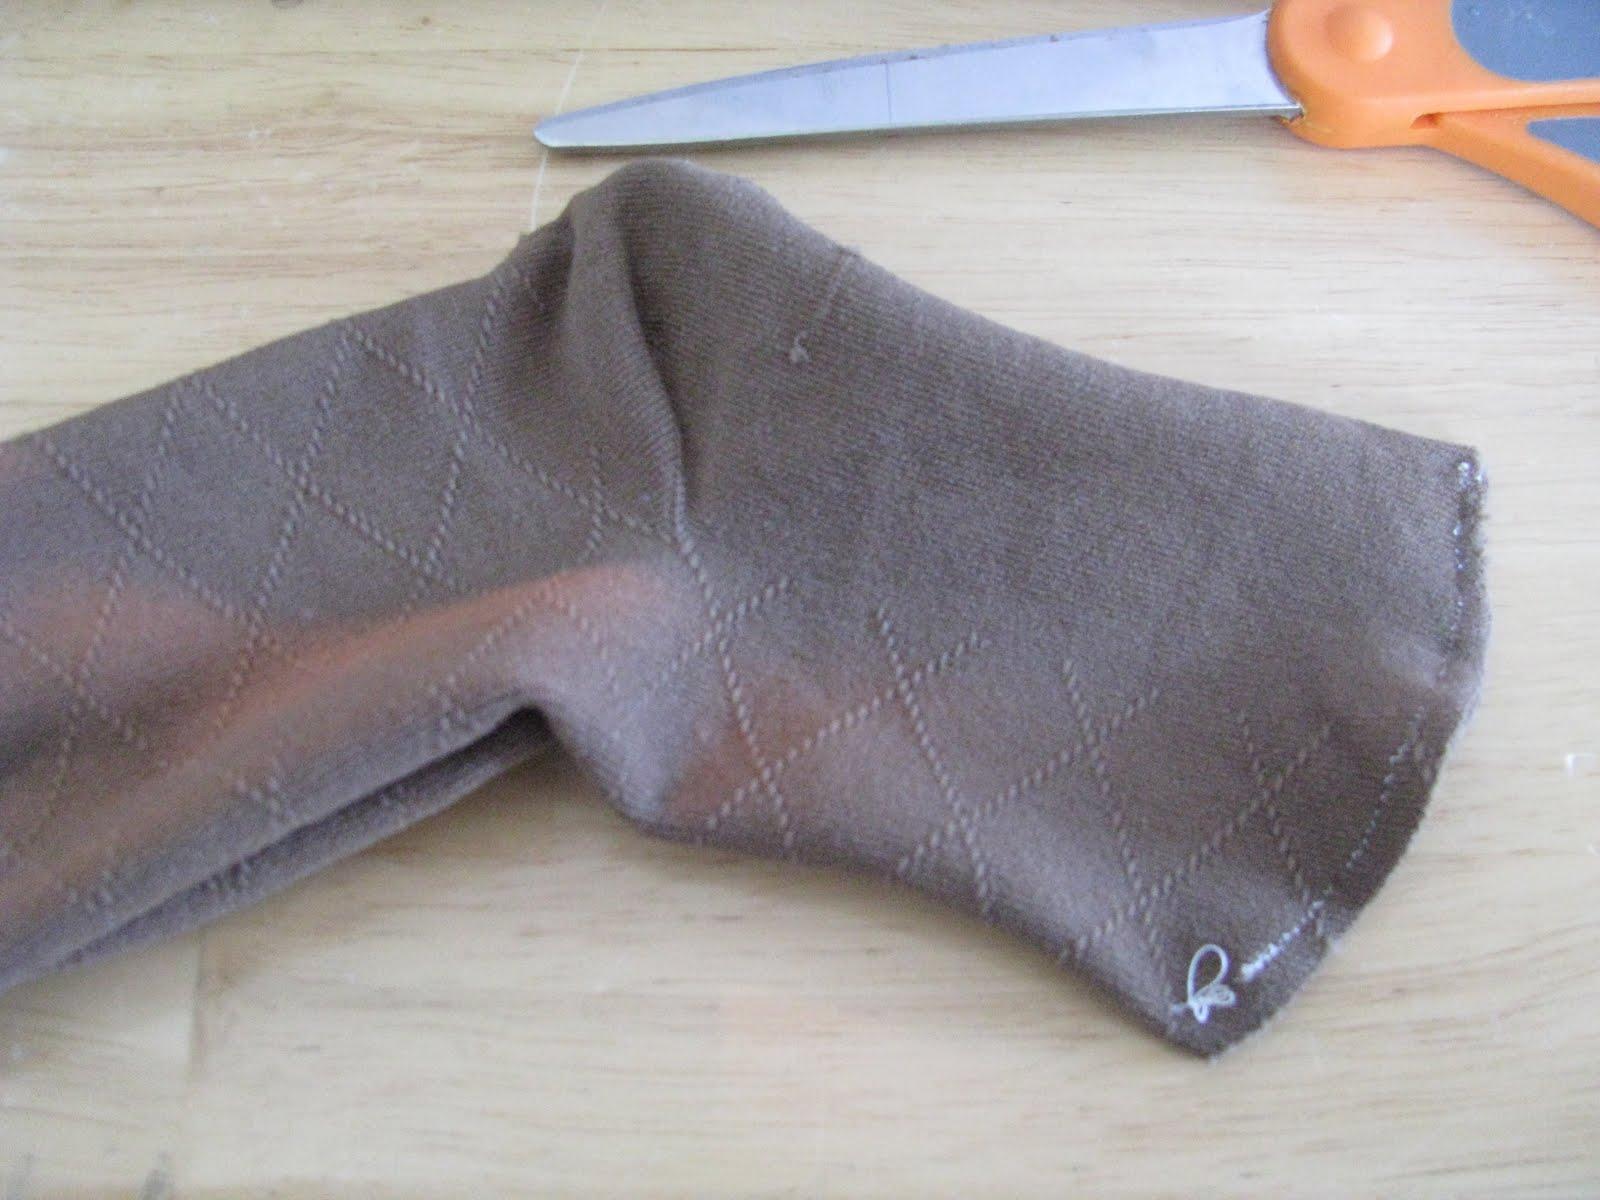
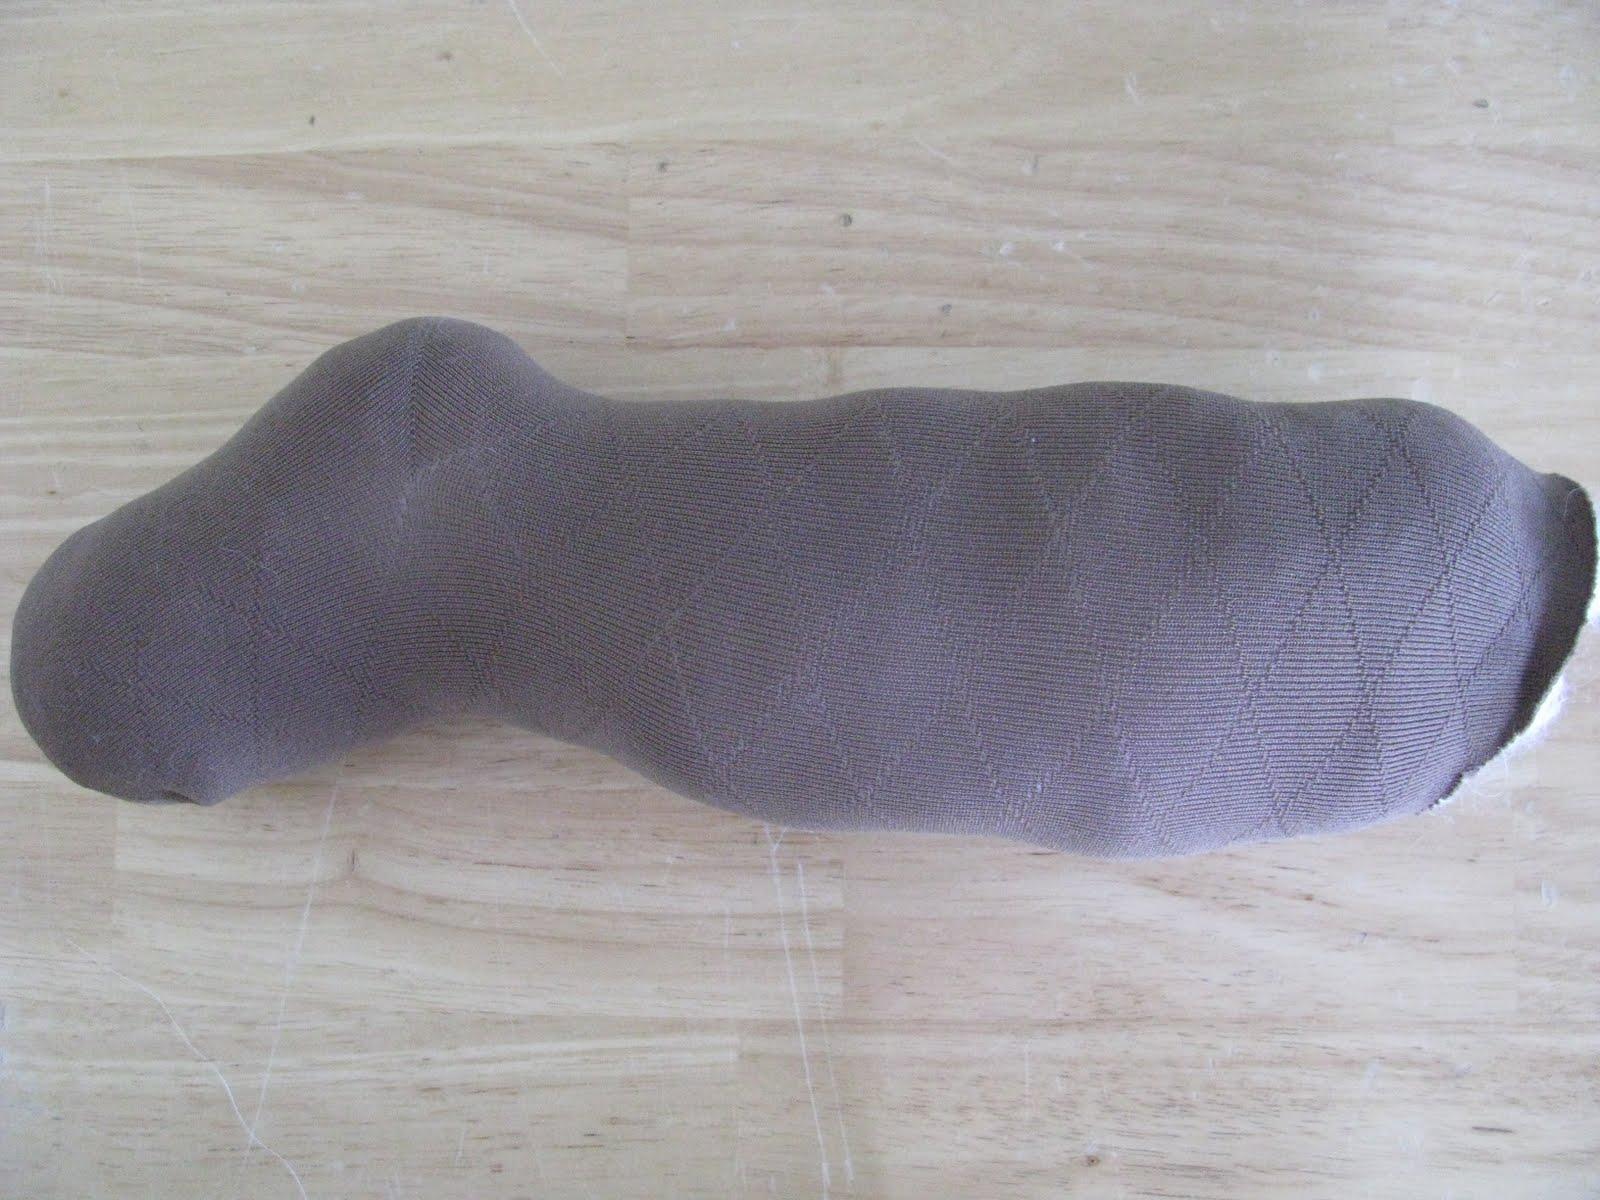
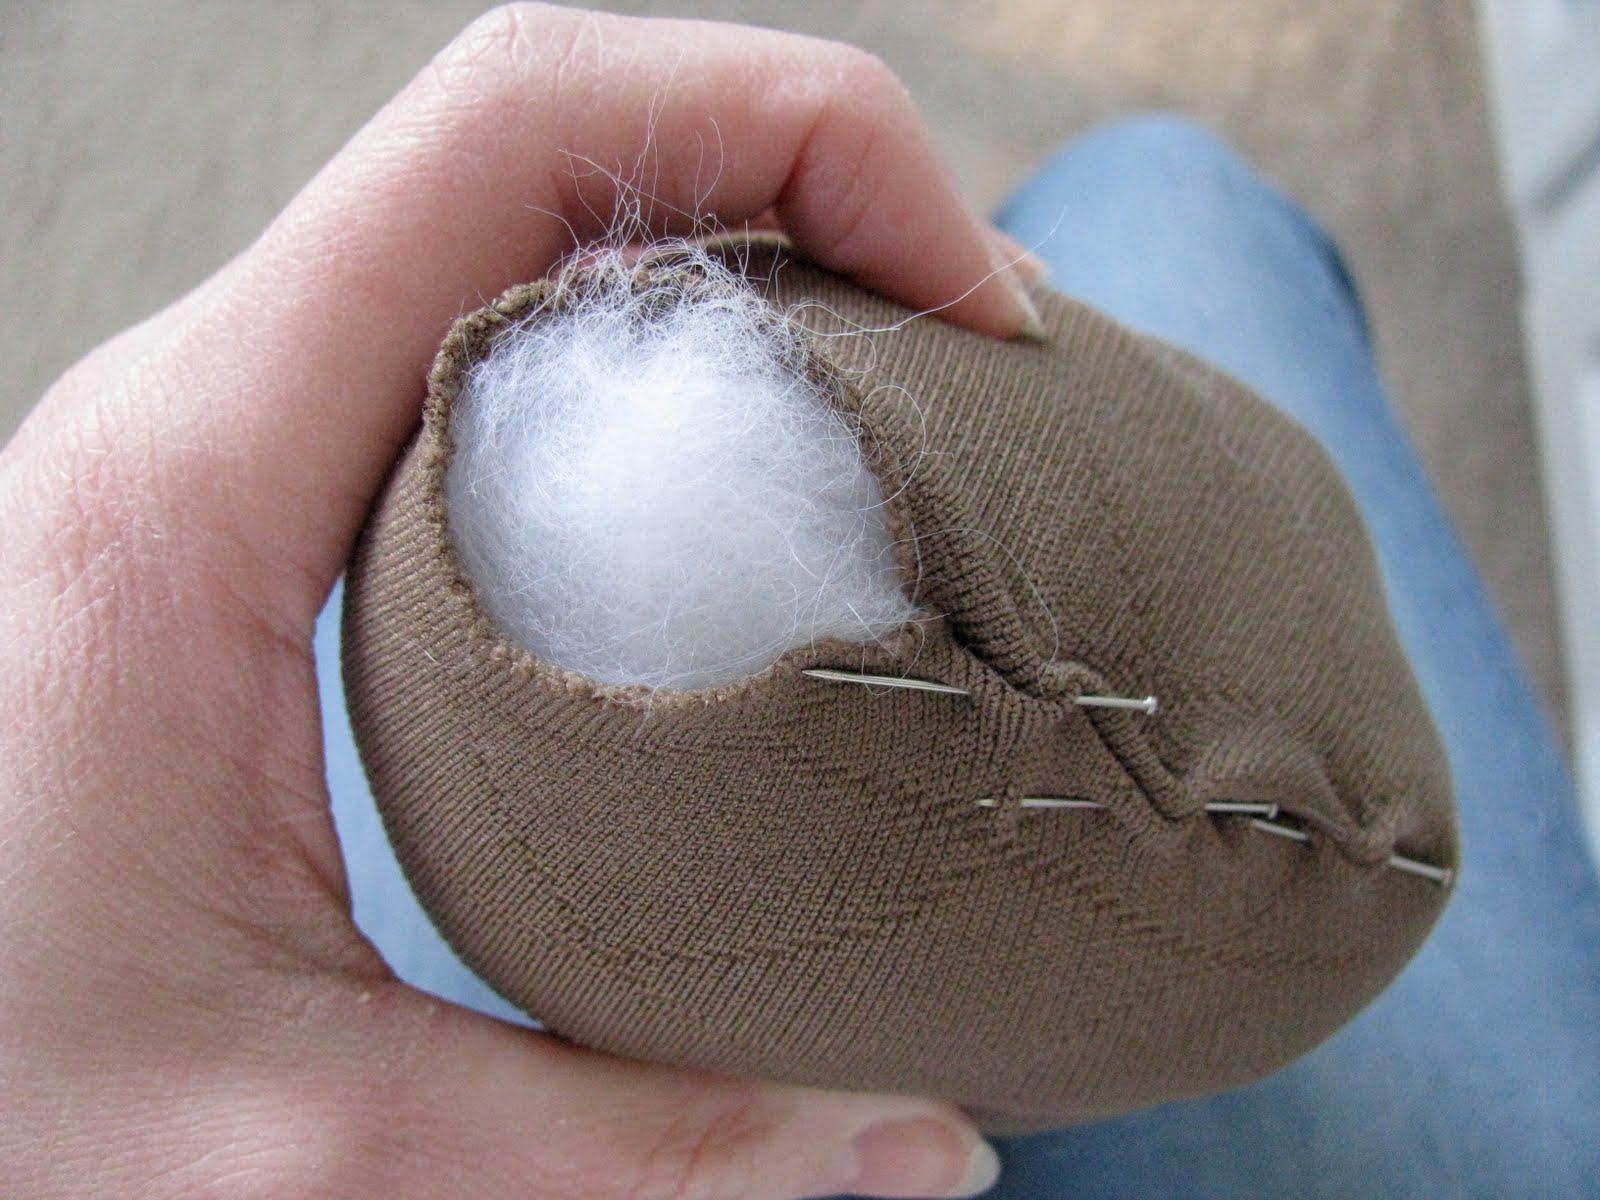
Each time you stuff a limb or her leg I would recommend pinning it like I did below before you stitch it on. The trick is to slightly tuck the edges in a bit and then whip stitch it closed.
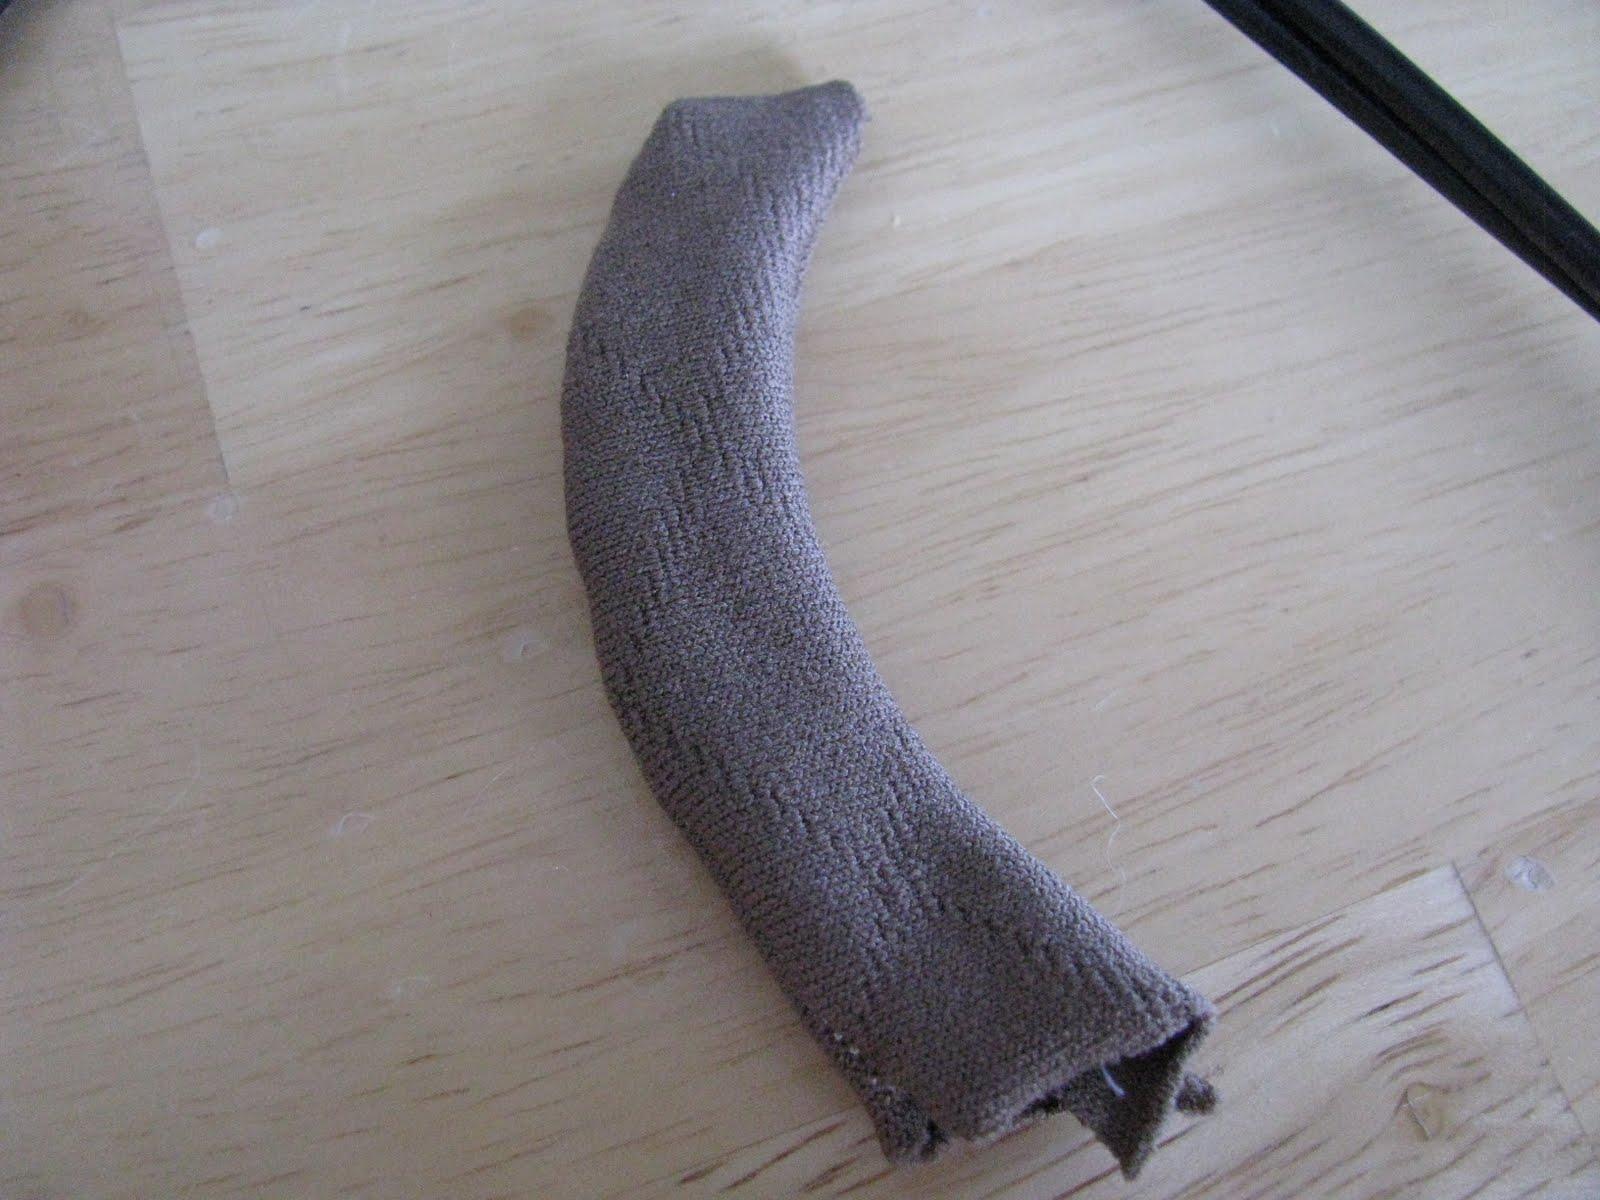
Tail: Grab the portion of the sock that you cut for the tail. It should be a full loop, so cut one end of the loop, turn it so that the right sides of the sock are facing each other and stitch up the sides with your sewing machine like the picture below. Be sure to leave an opening so that you can stuff the tail.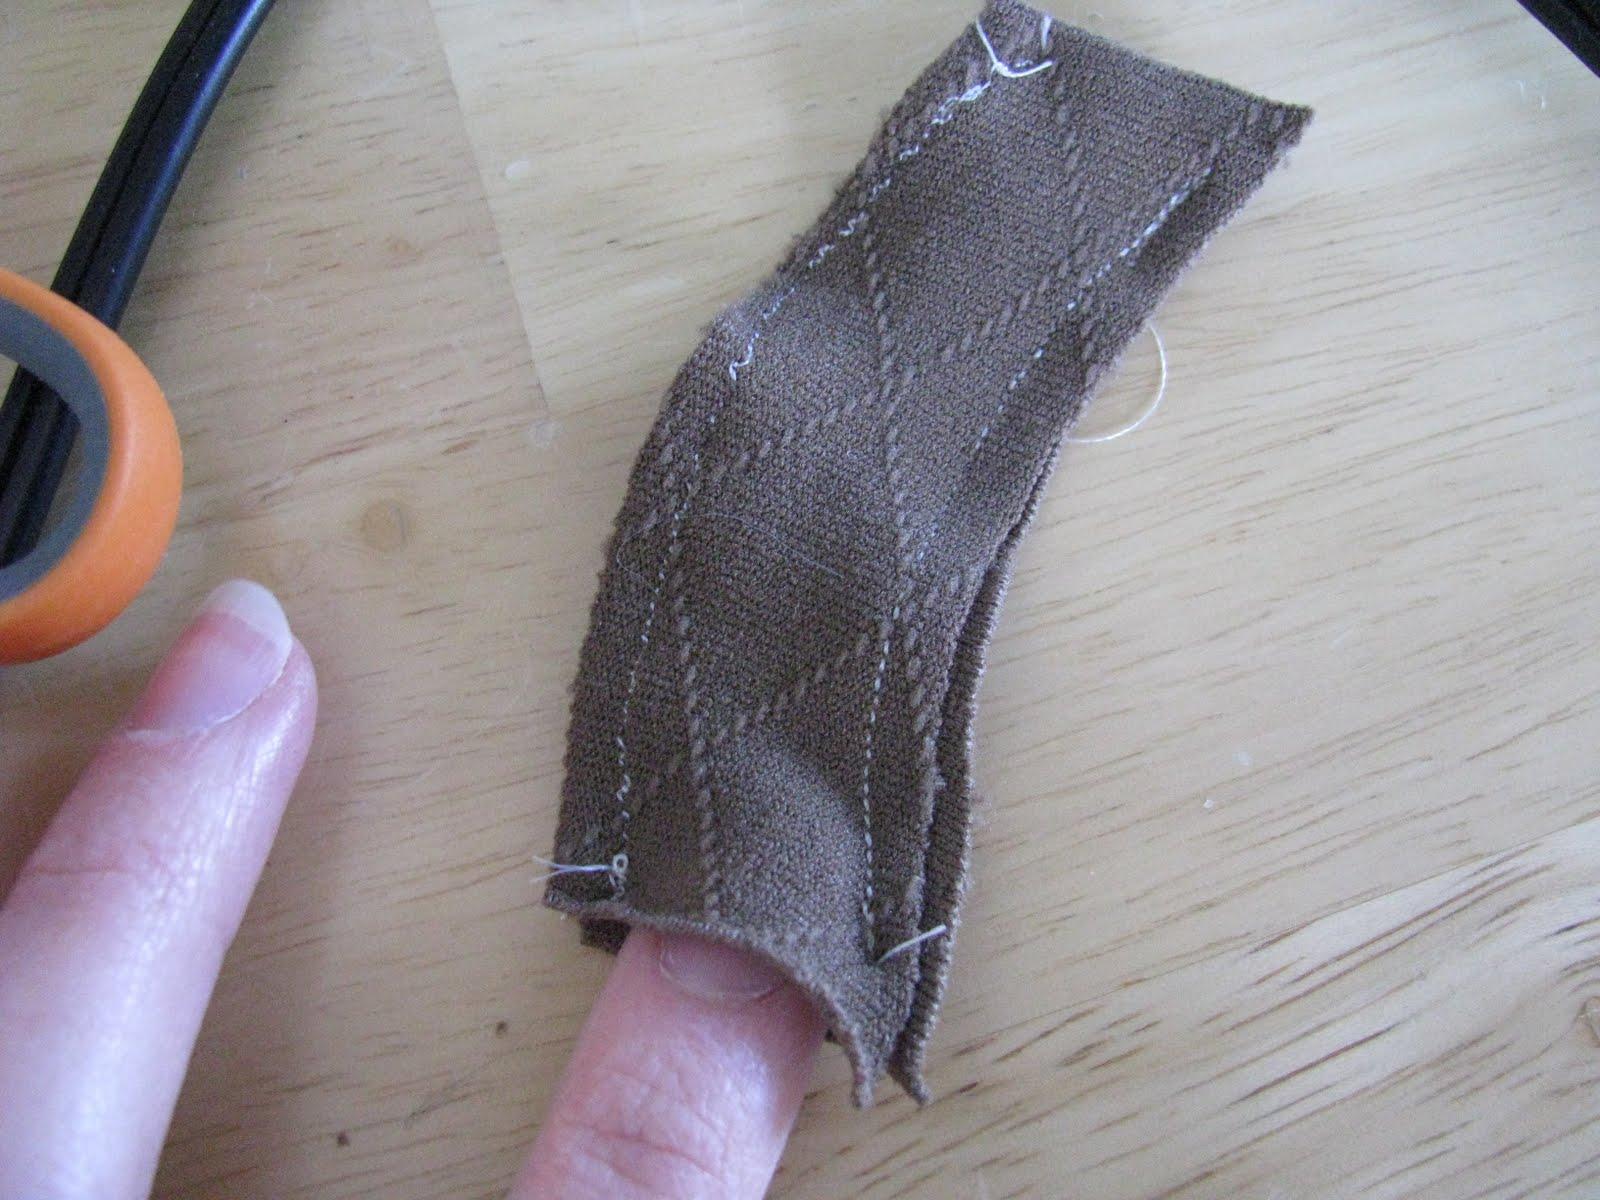 Turn the tail inside out and it will look like this, ready for stuffing. (Stuffing the tail isn’t easy, I would recommend that you use a small amount of stuffing and stick it in with a chop stick little by little.)
 Legs: With each of the four legs, you will sew along three of the sides of the rectangle, leaving one of the short ends open. Just like the other appendages, make sure the right sides of the sock are facing each other, sew, flip it inside out, stuff, pin to the body, and whip stitch it on.
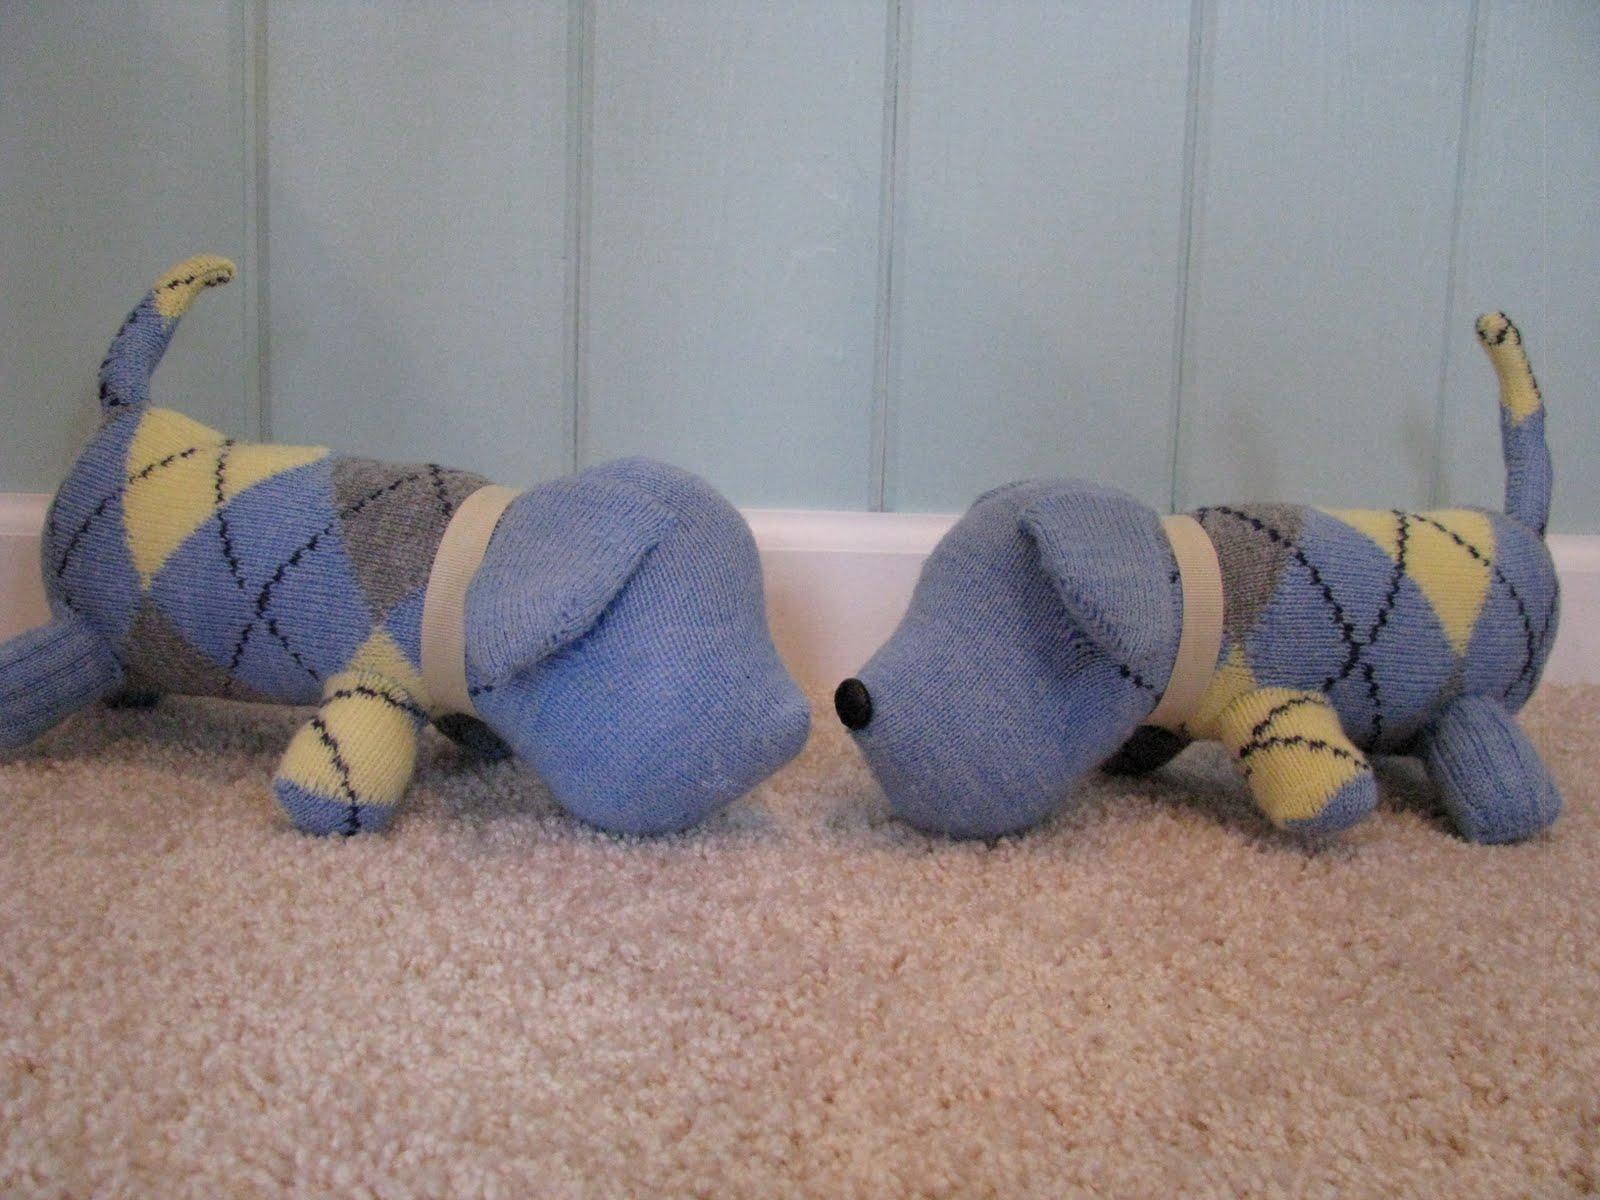
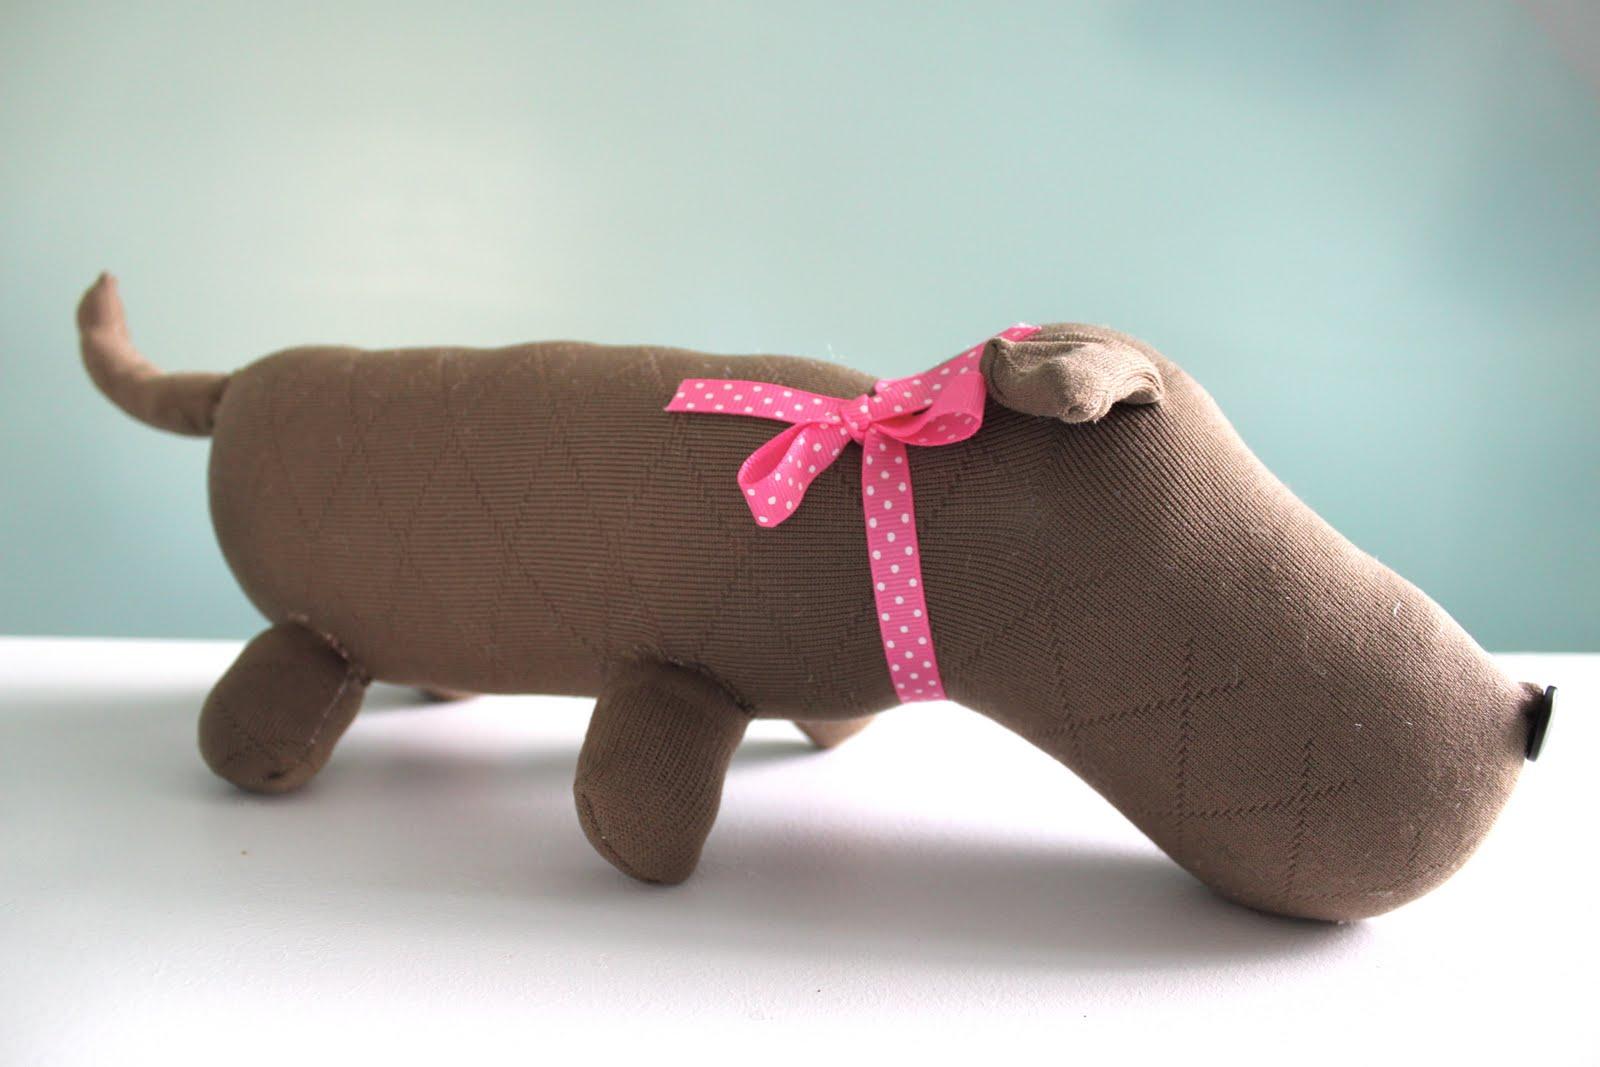
You can finish with a button nose or some eyes and a collar. Share with your favorite wee one!


Sarah,
What a great and fun tutorial ! I have to try and make one, thanks so much for sharing ;-))
So darling! Thanks for sharing. 🙂
these are awesome! My daughter is a dog fanatic and these totally just hit the MUST MAKE file!!
tai @ http://taidyeoriginal.blogspot.com
Oh wow this is the cutest thing I've seen all day! I can't wait to try one (or several) of these for nieces/nephews/friend's kids. Awesome.
I fell in love when I saw these sock puppies, but now that I tried one I only like mine. It is more handstitching than I like to do and I feel like it's a little loose. I am going to try another, but I am going to try machine sewing the limbs on before I stuff the body. Also I think using 2 socks would make it a little easier, my legs are super tiny. Thank you for posting, I love your blog!
Love these puppy socks! I featured them on my blog under the DIY Gift Tutorial http://craftbliss.com/diy-gift-tutorials/ section of CraftBliss and linked back to you. Thanks for creating and sharing! ~Dee
thank you for the GREAT tutorial.
you're welcome to see what i made.
🙂
http://www.tapuz.co.il/blog/net/viewentry.aspx?EntryId=2267838&r=1
Thanks !!!!!!!
Lovely…very beautiful..
maltese puppies for sale
golden retriever puppies for sale
Great Tutorial!
Thanks a lot. Have to make one. ^_^
I just saw your sock puppies from a link on the All Free Sewing website. These are adorable! These are a super project to re-purpose socks that wear out, or loose their mate. You could probably use one as a pincushion. I suppose if you did, we could fill a piece of it with the emery powder, or whatever that stuff is inside the strawberries on the tomato pincushions too. Absolutely love these!
This is cute would like to try it.
I have to hit the thrift store for socks I have at least 3 kiddos I can make these for