I’ve always wanted to learn how to reupholster furniture. In college I lived in a house with 7 other girls. We had this GIANT brown couch that my roomie and I decided to cover on the fly… sans directions… sans experience, but even with all that stacked against us, it turned out pretty cute. What color did we choose? Well, I did mention that it was a house with 8 girls, so it was bubble gum pink of course! It was a good first experience and my roomie Kelly has gone on to more sophisticated reupholstering projects, but I haven’t… until now!
I found this ugly old office chair on Craigslist for $15 and decided to create a quick slipcover to cover the maroon fabric. Thought you might be interested to see how I did it. This is a super easy, super quick project.
Before:

After:
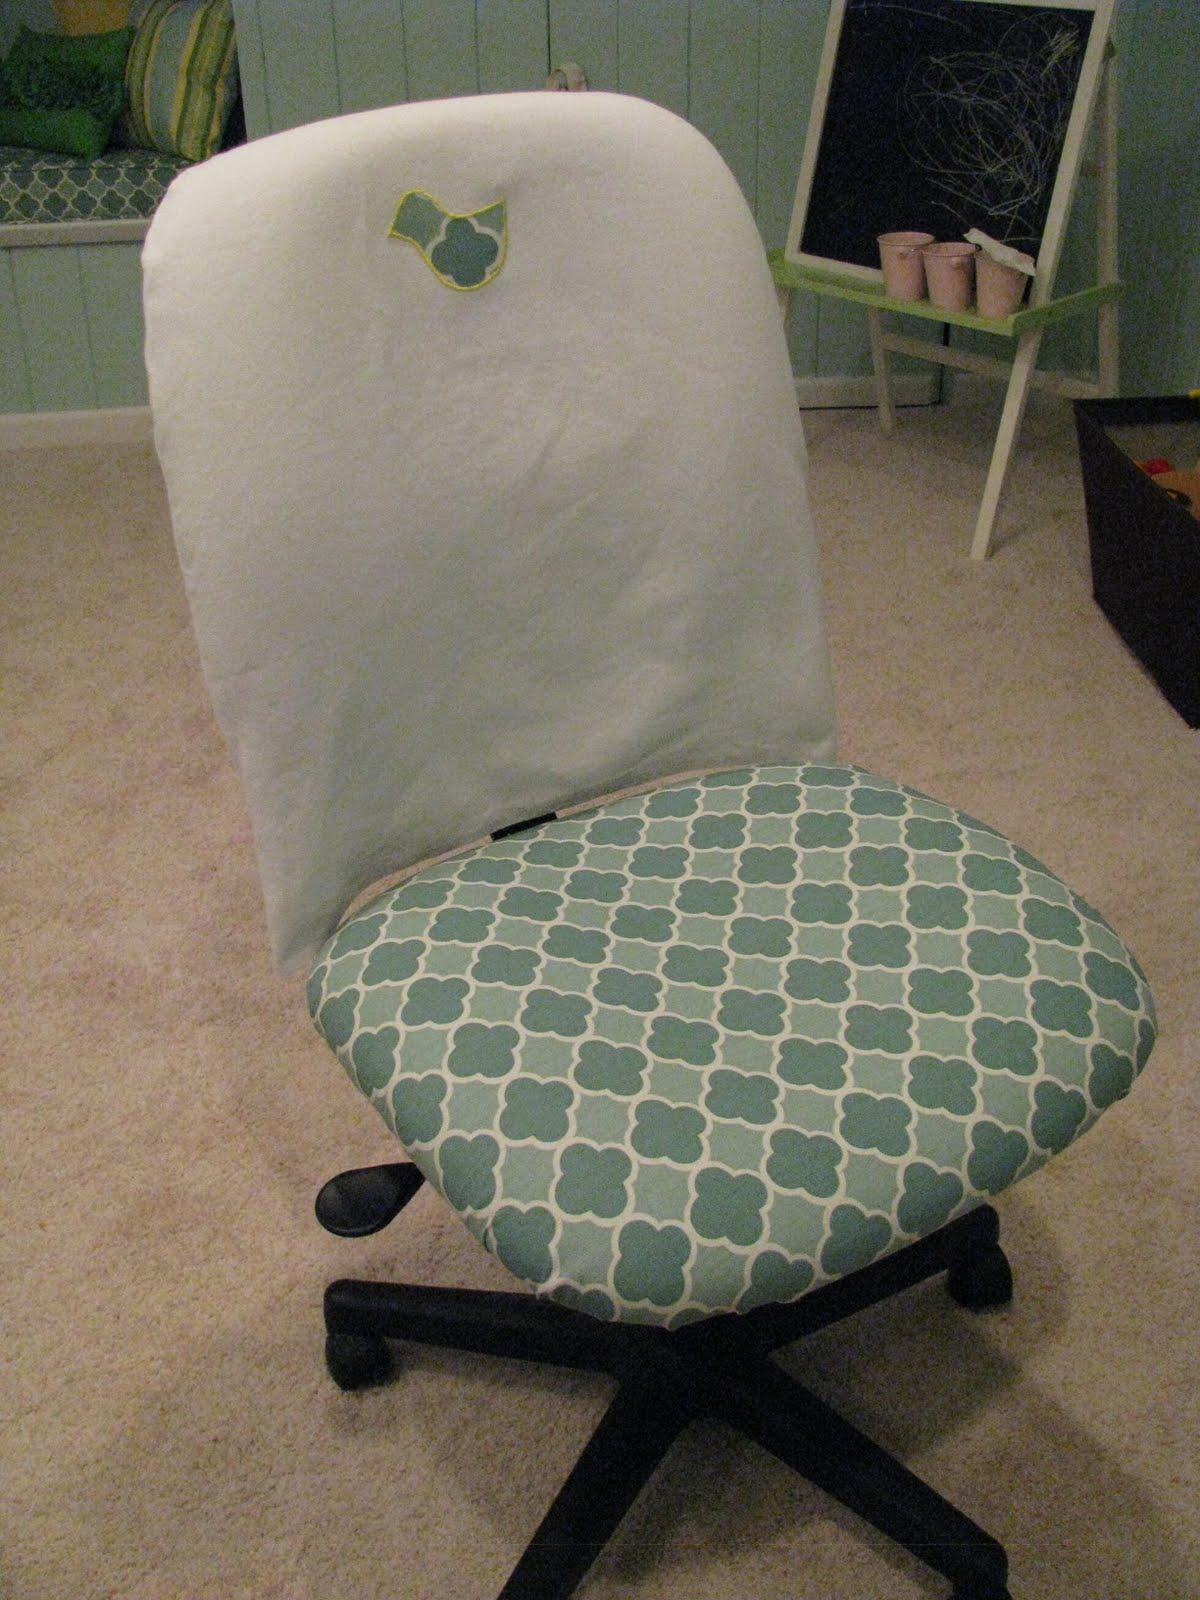
I just stretched and stapled the bottom of the chair, it’s the slip-covered back that I will tutorial for you:
First, drape your fabric over your chair with the wrong side out and pin it tight against your chair as my Mr. Vanna White is demonstrating!
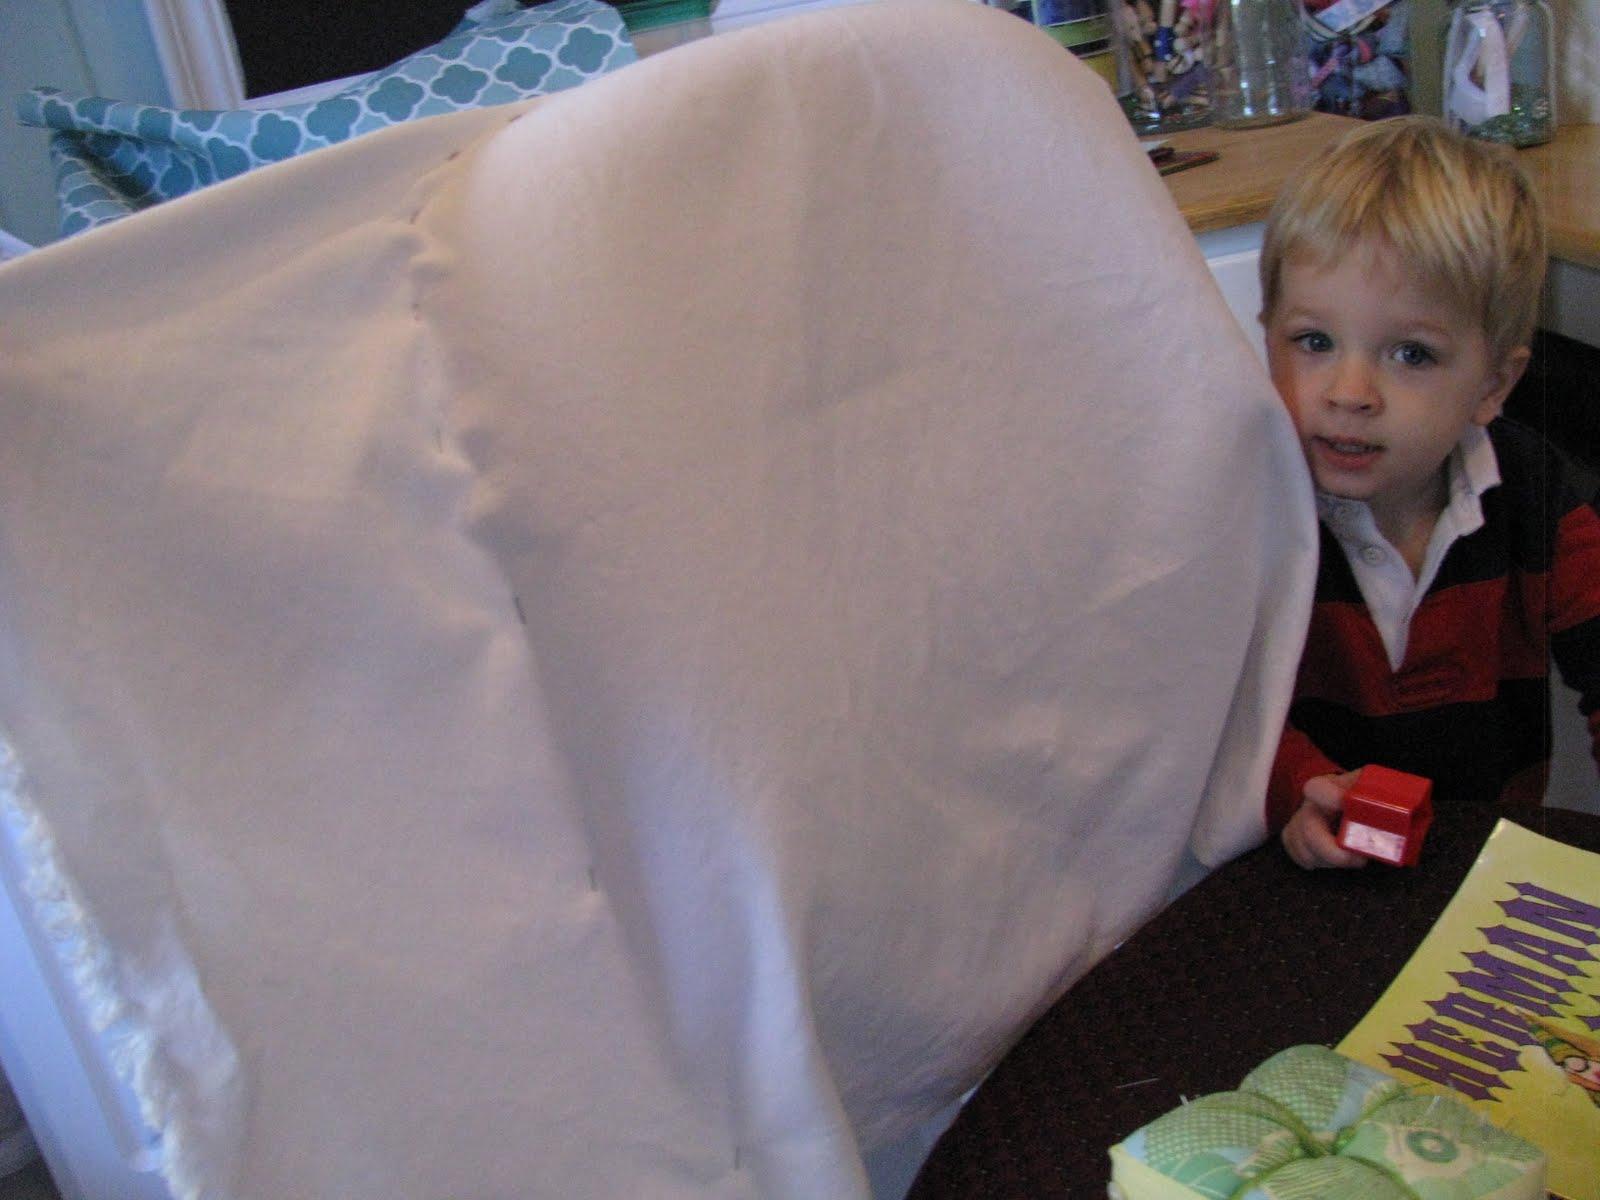
Cut off the excess fabric about one inch away from your pins and carefully remove your pinned project from the chair
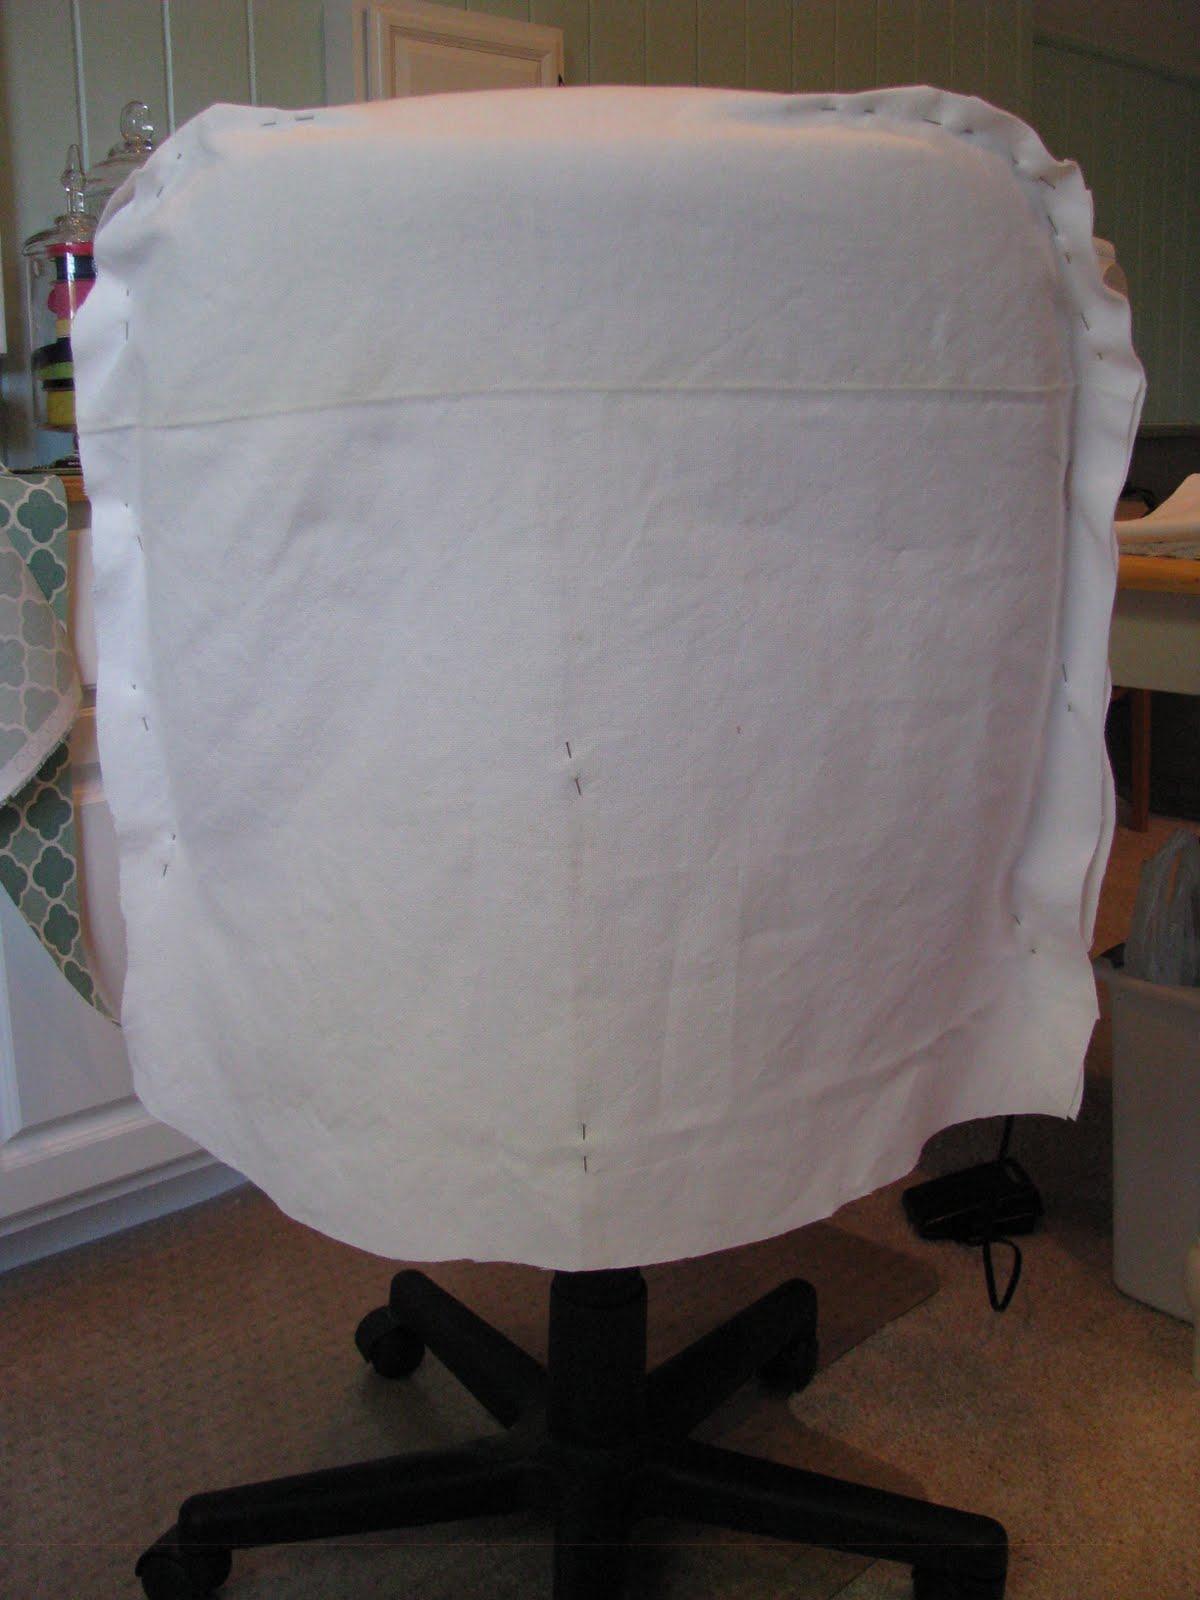
To make sure that the slip cover is symmetrical across the curved back, fold the piece in half and recut the excess fabric if necessary.
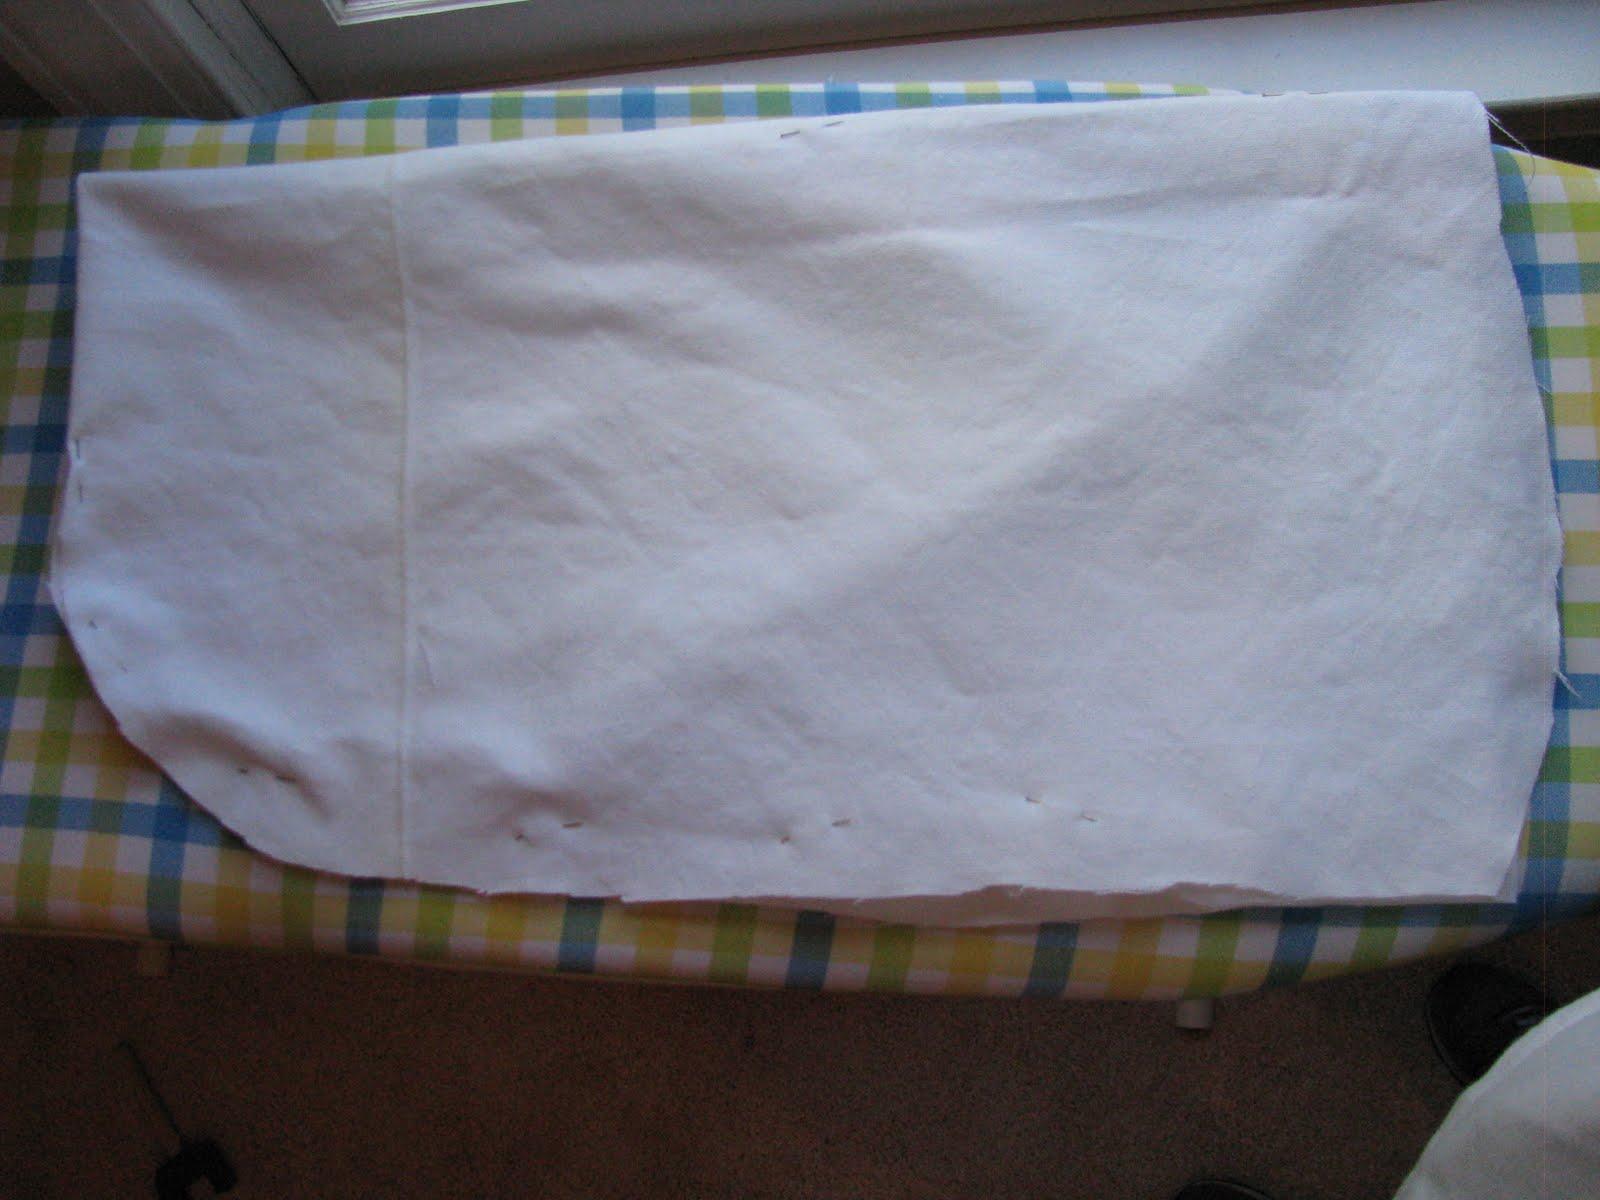
Sew about 1/2 inch away from the pins, but stay close to maintain the shape you need for your chair.
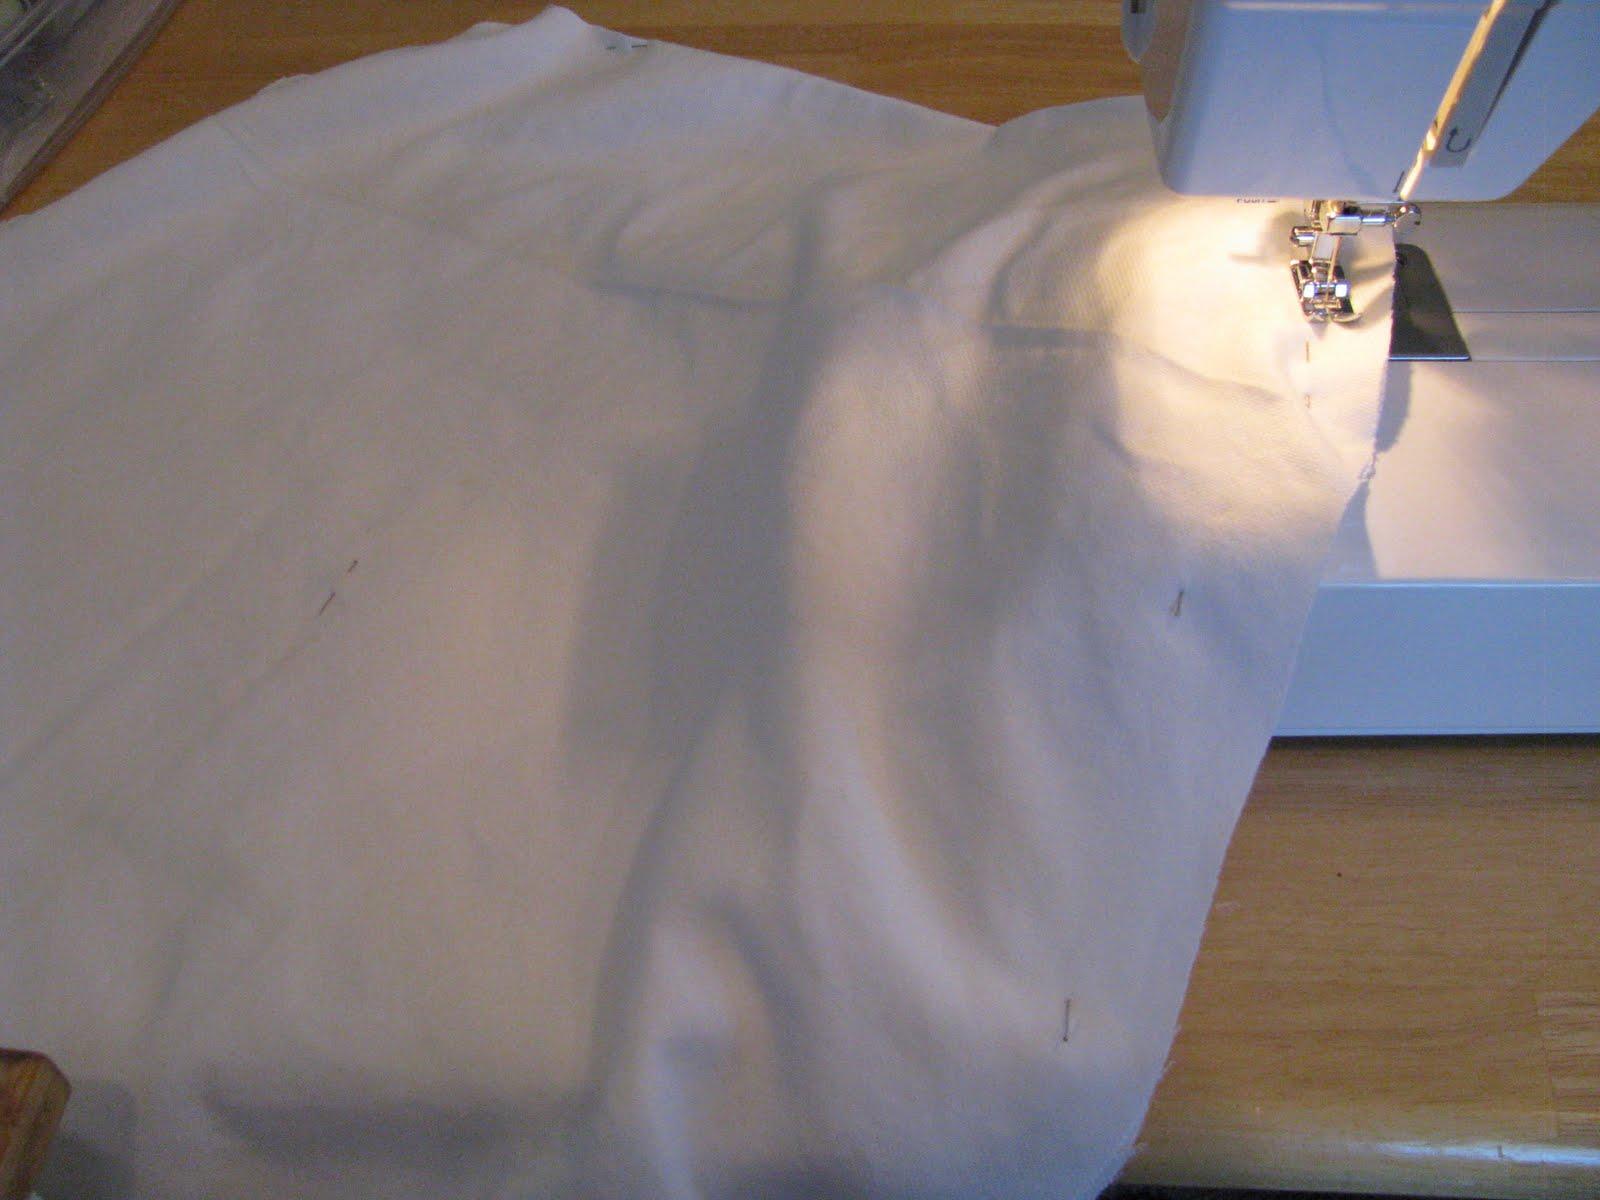
Be sure to hem the bottom edges of your project. I used pinking shears to cut off any excess fabric after I finished sewing. That way if I want to wash the slipcover it won’t fray as badly.
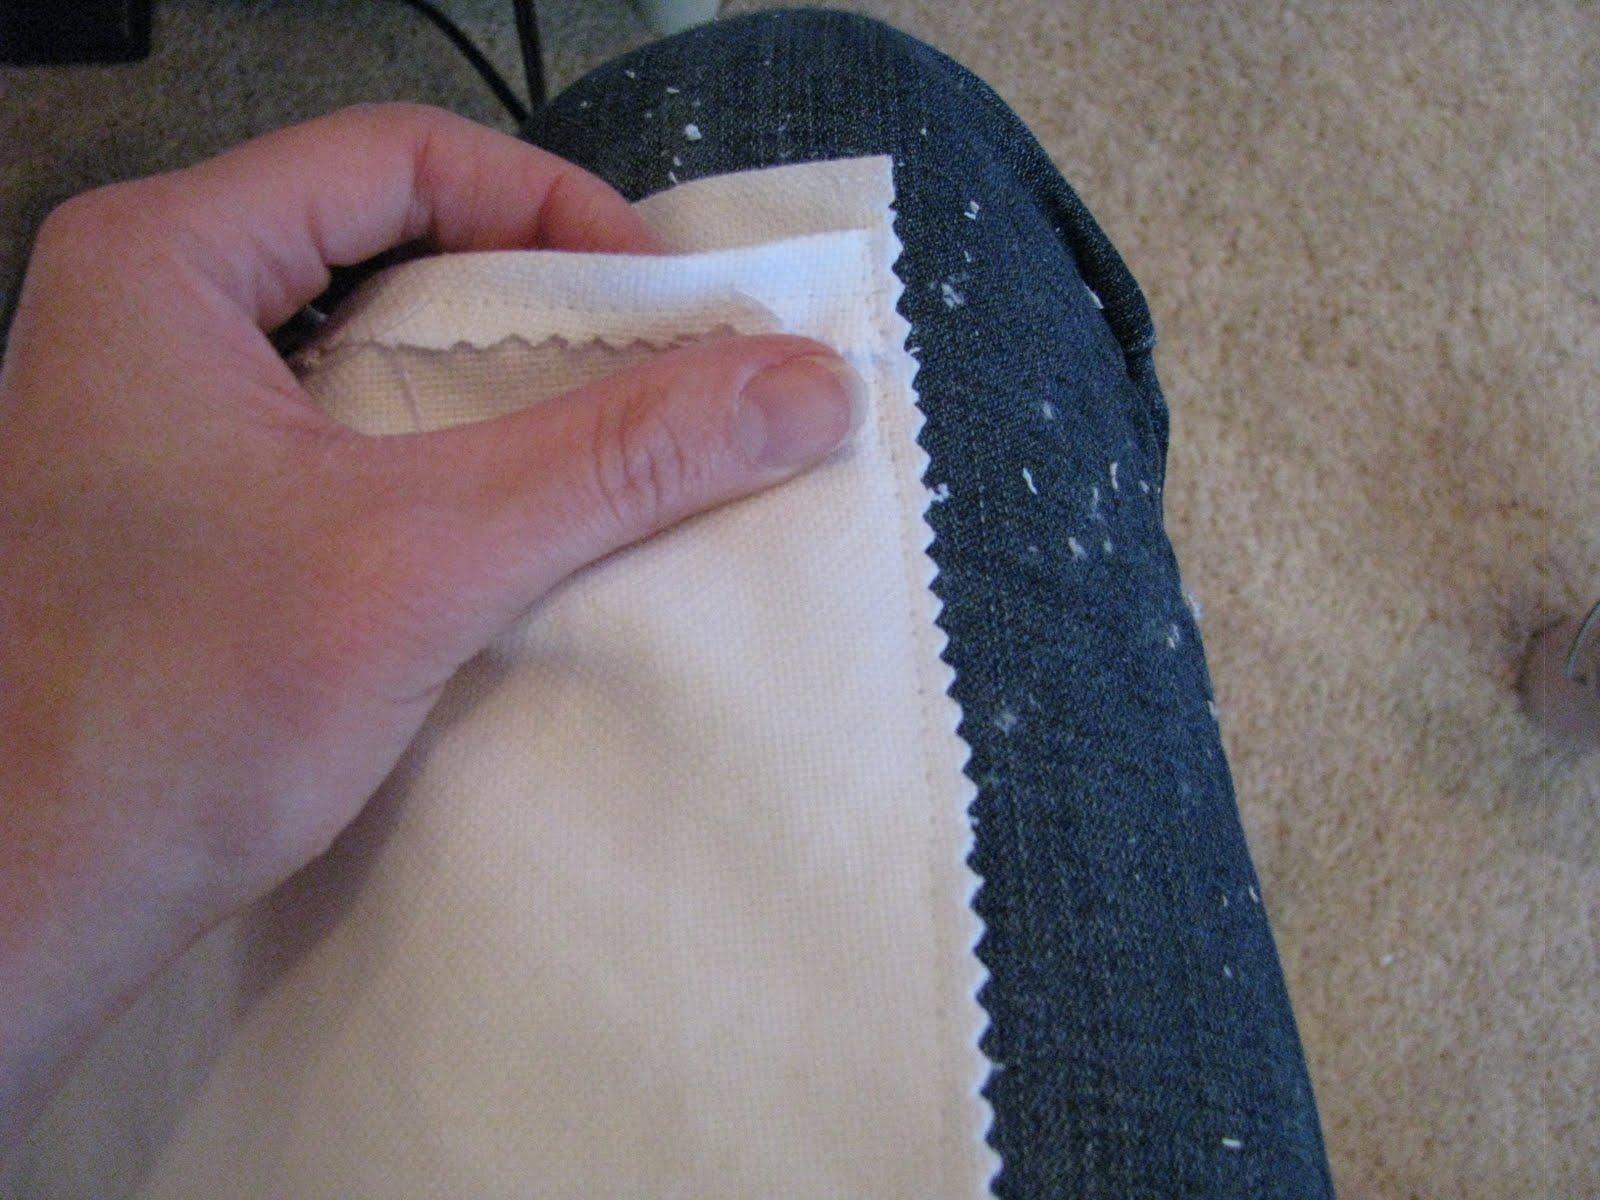
Finally, turn the slipcover inside out, press it if necessary, then slip it on your chair. I appliqued a little bird on the back of my chair, just for fun. Easy Peasy! I still want to try a bigger project one day, but I got my fix with this slipcover for now! 🙂

Creative.
sandy toe
I have one of those ugly computer chairs…Thanks for the inspiration and the tutorial!
i so want to try it! i found this tutorial: http://myhomespunthreads.blogspot.com/2009/07/cover-your-office-chair-tutorial.html
but yours looks way more my speed 🙂
~lindsey
Lindsey,
Thanks so much for sending the link to the other tutorial. She did a great job for a chair with arms… I think that would be tough!
-Sarah
I definately need to do this for my chair in my craft room! Thanks!
I need to do this to my chair at work! The thing has 2 holes in it, and the boss man is too cheap to buy a new one! lol. I bet he'd be surprised to come in and find it covered in something. LOL.
This is awesome ! thanks 🙂 I hate my ugly computer chair ! 🙂