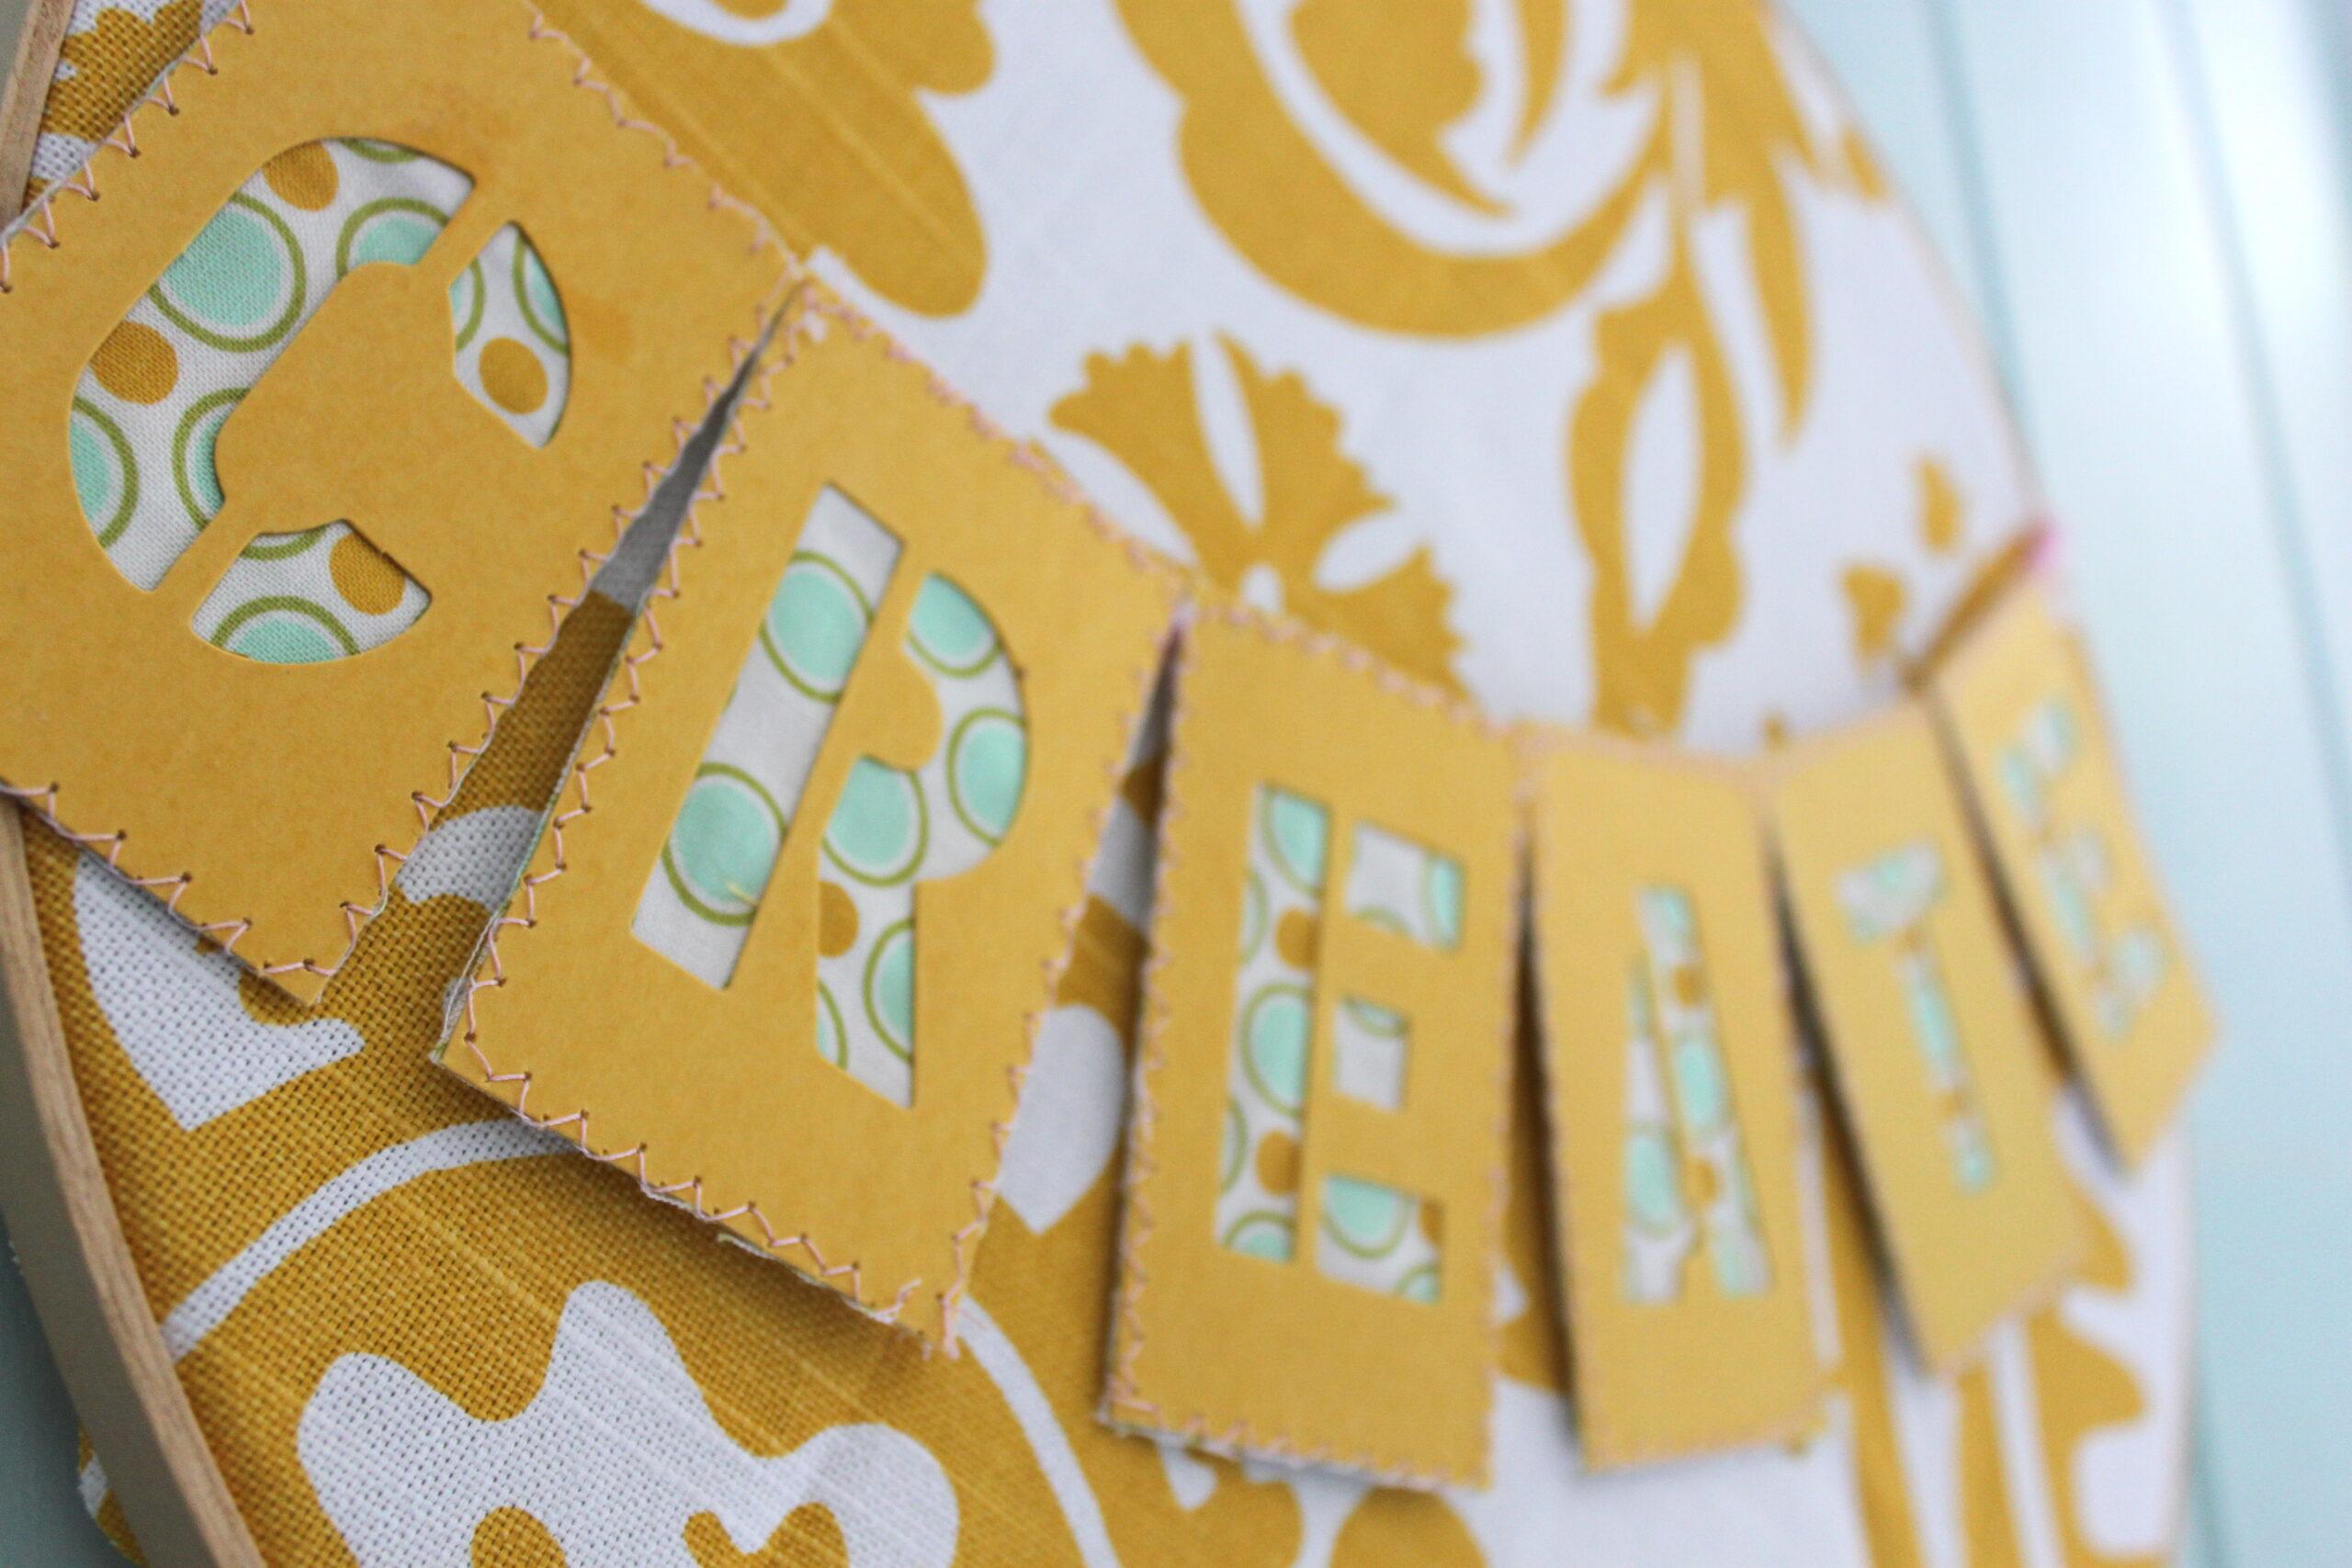
- 3 inch tall card stock alphabet stencils
- 1 fat quarter of your favorite fabric
- Spray adhesive
- Sewing machine with colored thread
- Thick yarn (I used Wool Ease Thick and Quick)
- Glue gun
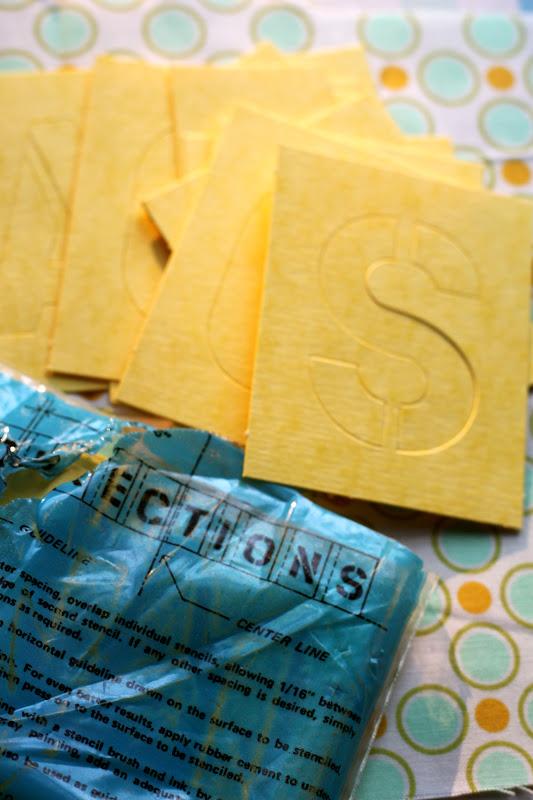
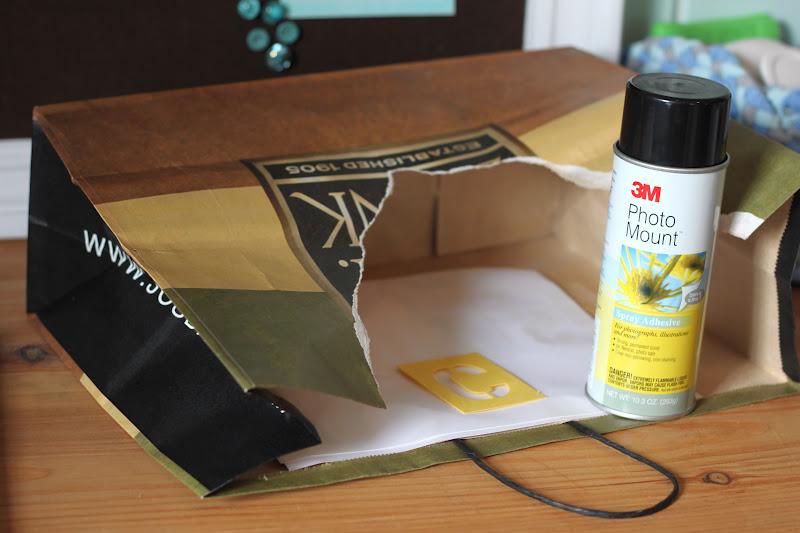
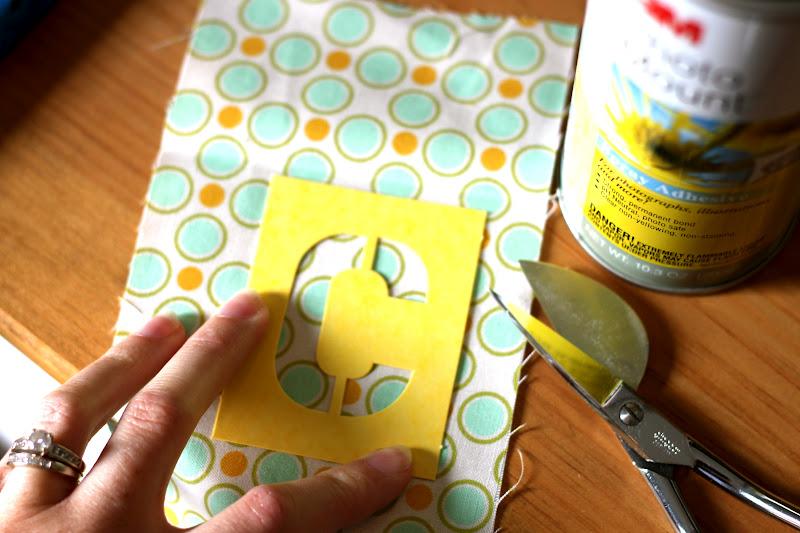
Next, press your coated stencil on to the “right side” of your fabric and cut off the excess fabric. Repeat this step with each letter you plan to use for your sign and set them aside to dry.
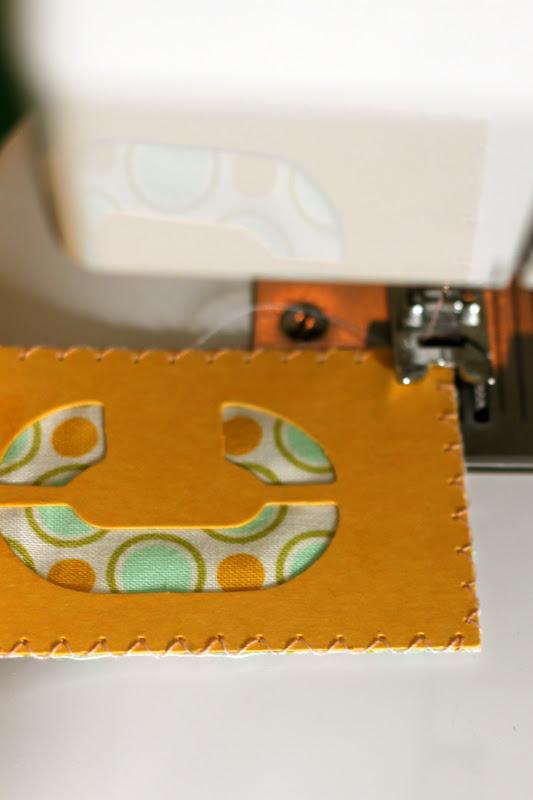
Once the stencils are dry (wait for this because nobody wants spray adhesive gunk in their sewing machine) you can do a zig-zag stitch all the way around the edge of your stencil. Be sure that you don’t pick up your needle as you turn the corners so that you don’t have excess fringe on the corners. What you’ll want to do is keep your needle down as you approach the corner, lift your presser foot, turn the stencil, then put your presser foot down and sew down the next side until you’re done.
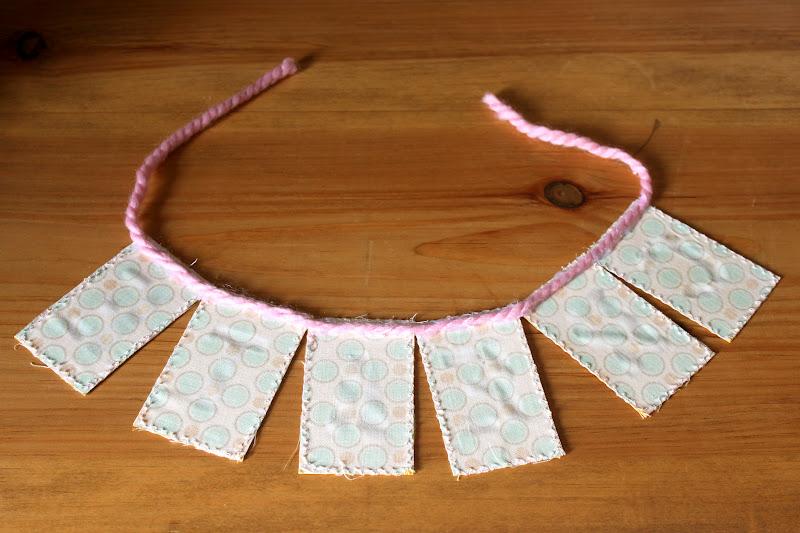
You’re almost done! Finally, you’ll want to place all of your finished stencils down from right to left and hot glue some yarn to the top of each stencil, leaving about 4 inches of yarn on each end for hanging.
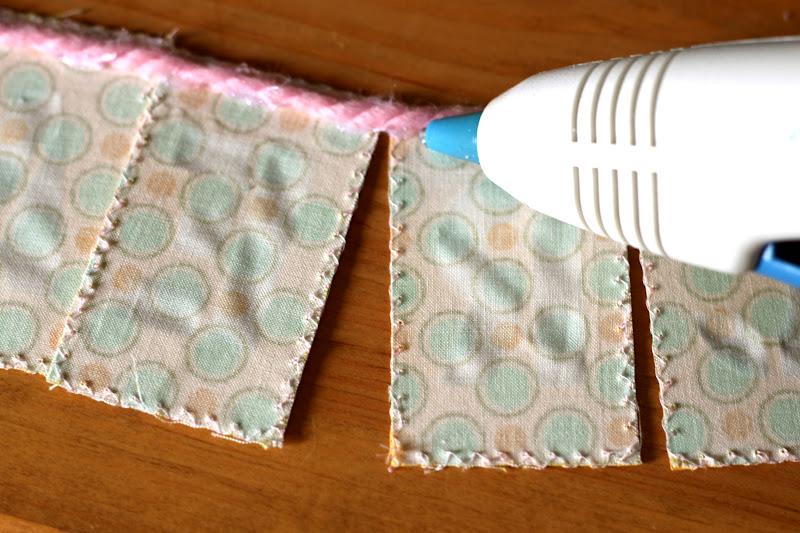
Looks like this from the back side:
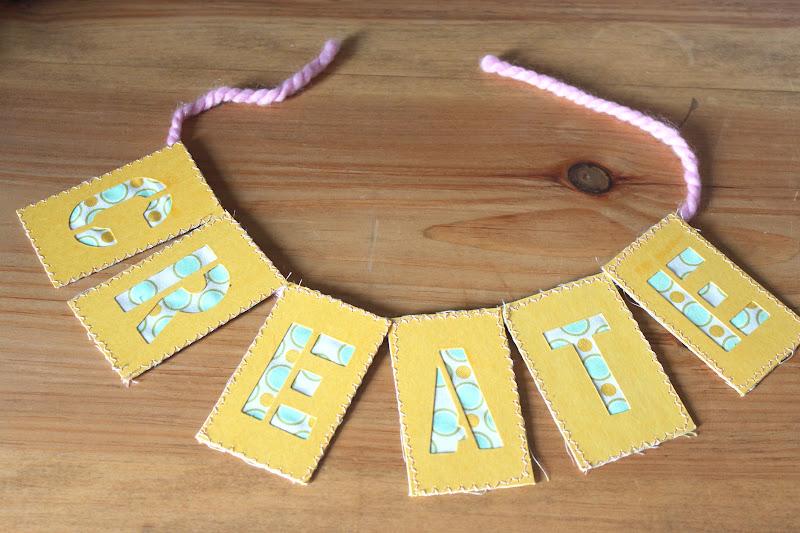
And this from the front!
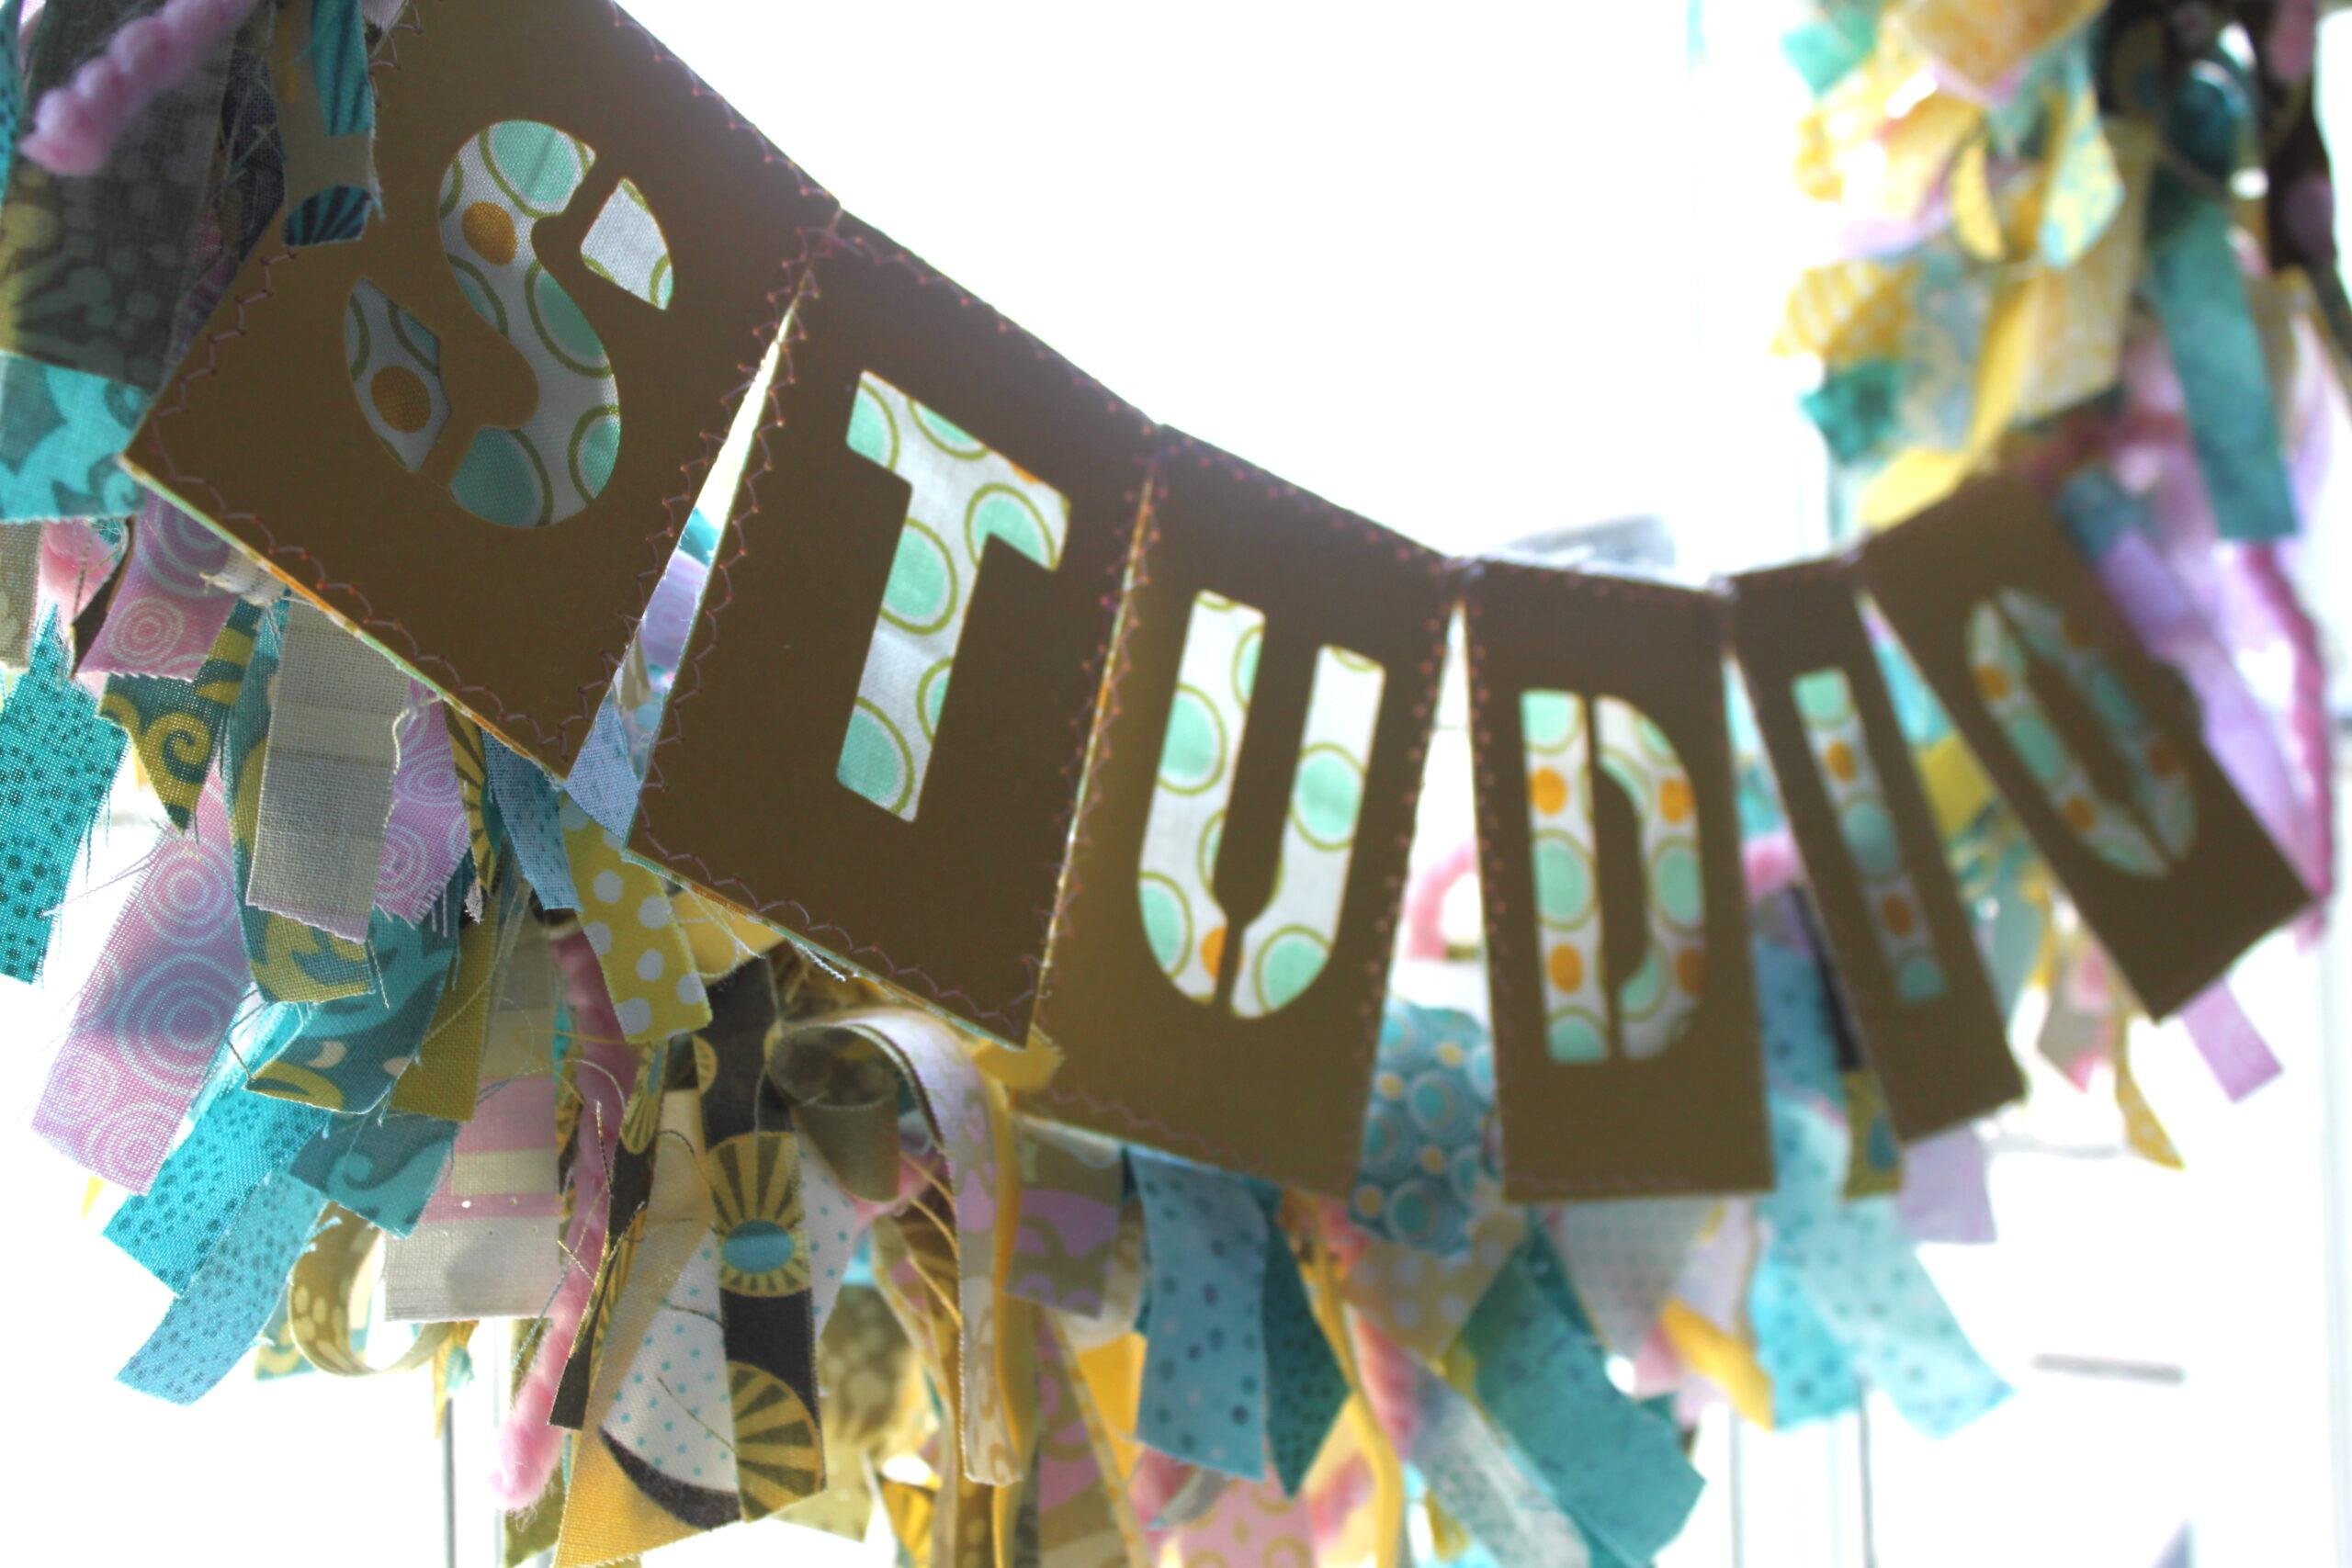
And it looks like this catching lots of natural light from behind!
*An affiliate link has been used, so if you click through and make a purchase, I will receive a small portion of the sale at no cost to you.

🙂